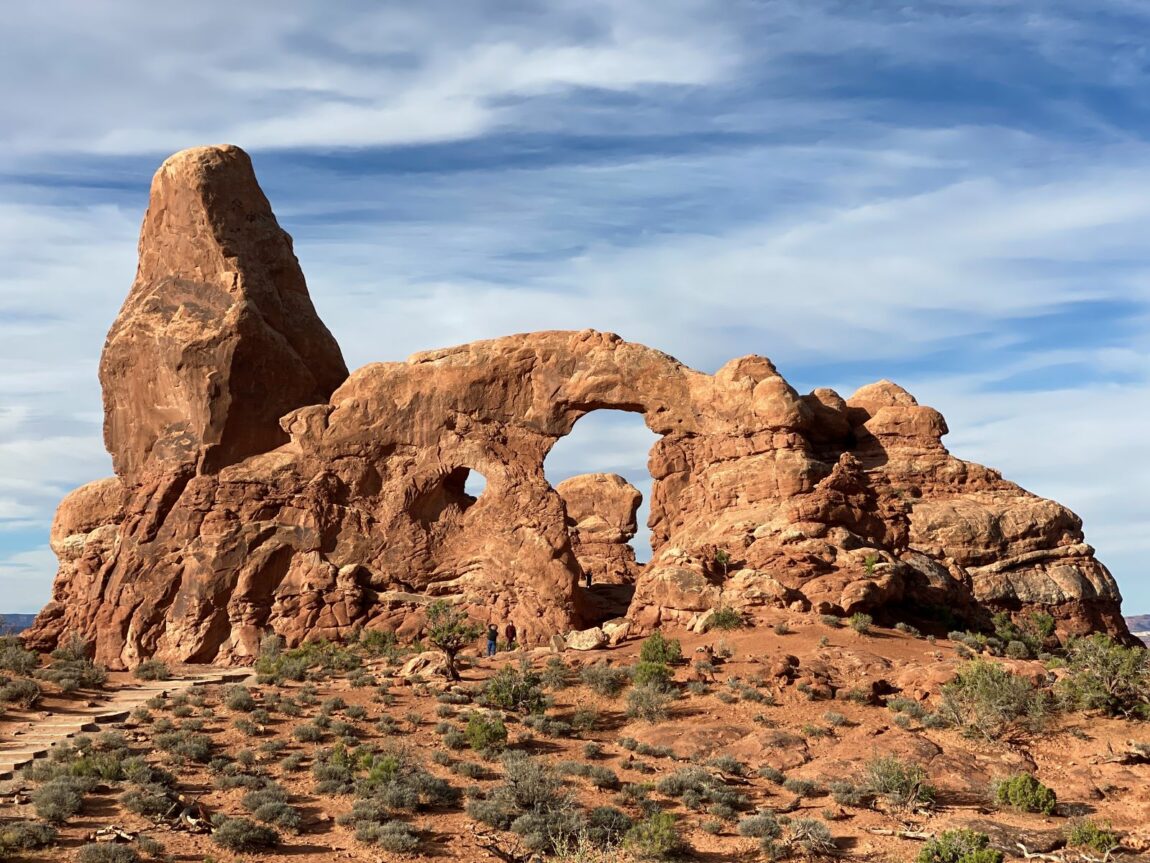
In this post, we share the top things to do at Arches National Park, and some tips to keep in mind while planning your trip.
For our first visit to Utah, we decided to check out Arches National Park – a stunning park located a few minutes from the town of Moab. Arches is one of the most popular parks in the US, drawing thousands of visitors from all over the world to see over 2,000 natural stone arches, and hundreds of rock fins and pinnacles.
Arches is perfect for both the experienced and weekend hikers, but photographers will be amazed by the park’s beauty as well. One of the coolest things about the park is that it is elevated, about 1,000+ feet, sitting on top of a mesa.
There are several things to do at Arches National Park, but we have compiled below a list of our favorite activities:
1-Take pictures
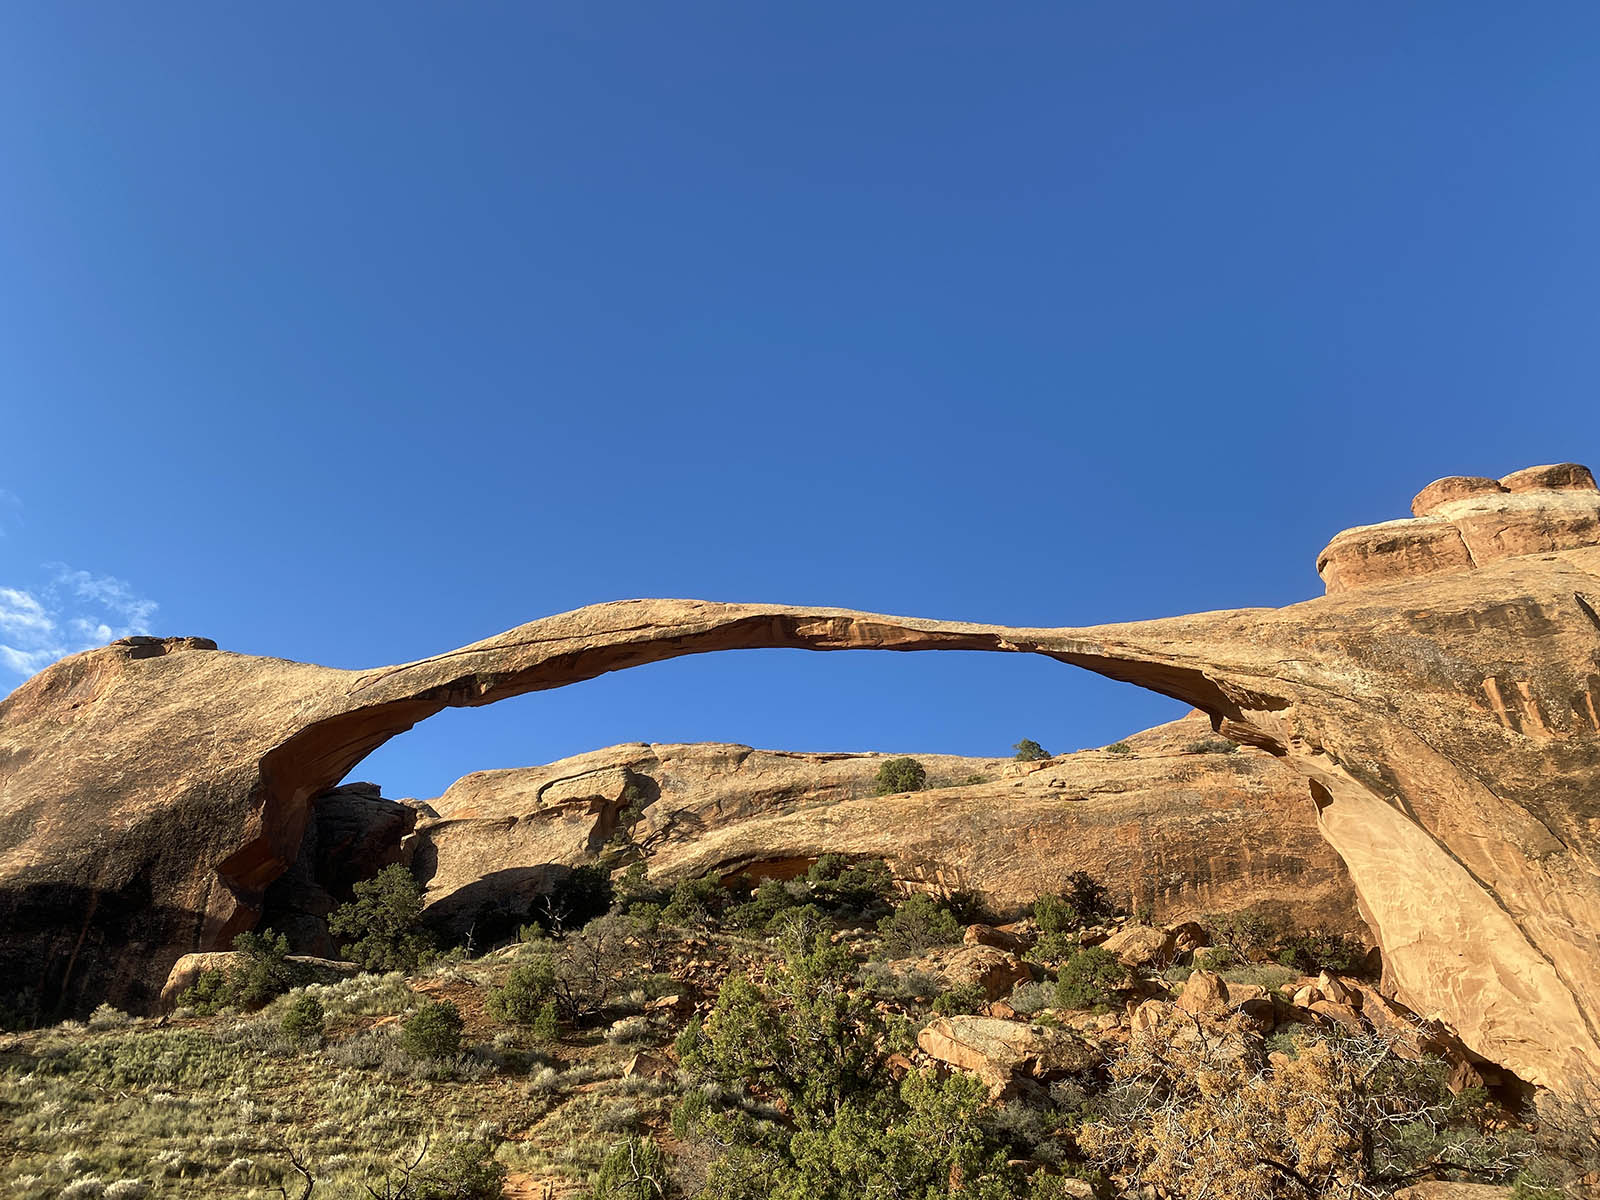
Landscape Arch in Arches National Park, Utah. Credit: Carolina Valenzuela
The views and rock formations found all over the park are marvelous, so don’t be surprised if you end up taking hundreds of pictures while visiting Arches – we took almost a 1000! Each arch, and even sections of the park, has an ideal time of day for photos; you should consider some of the arches are best photographed in the morning while others in the afternoon, depending on the angle of the sun. Below are some tips on when and where to take photos based on the time of day:
Arches best photographed in the morning: Pine Tree Arch; Tunnel Arch; Landscape Arch; Dark Angel; Three Gossips; Turret Arch; Double Arch.
Arches best photographed in the afternoon: Double O Arch; Park Avenue; Balanced Rock; Delicate Arch; The Windows.
2- Hike the Devils Garden Trail
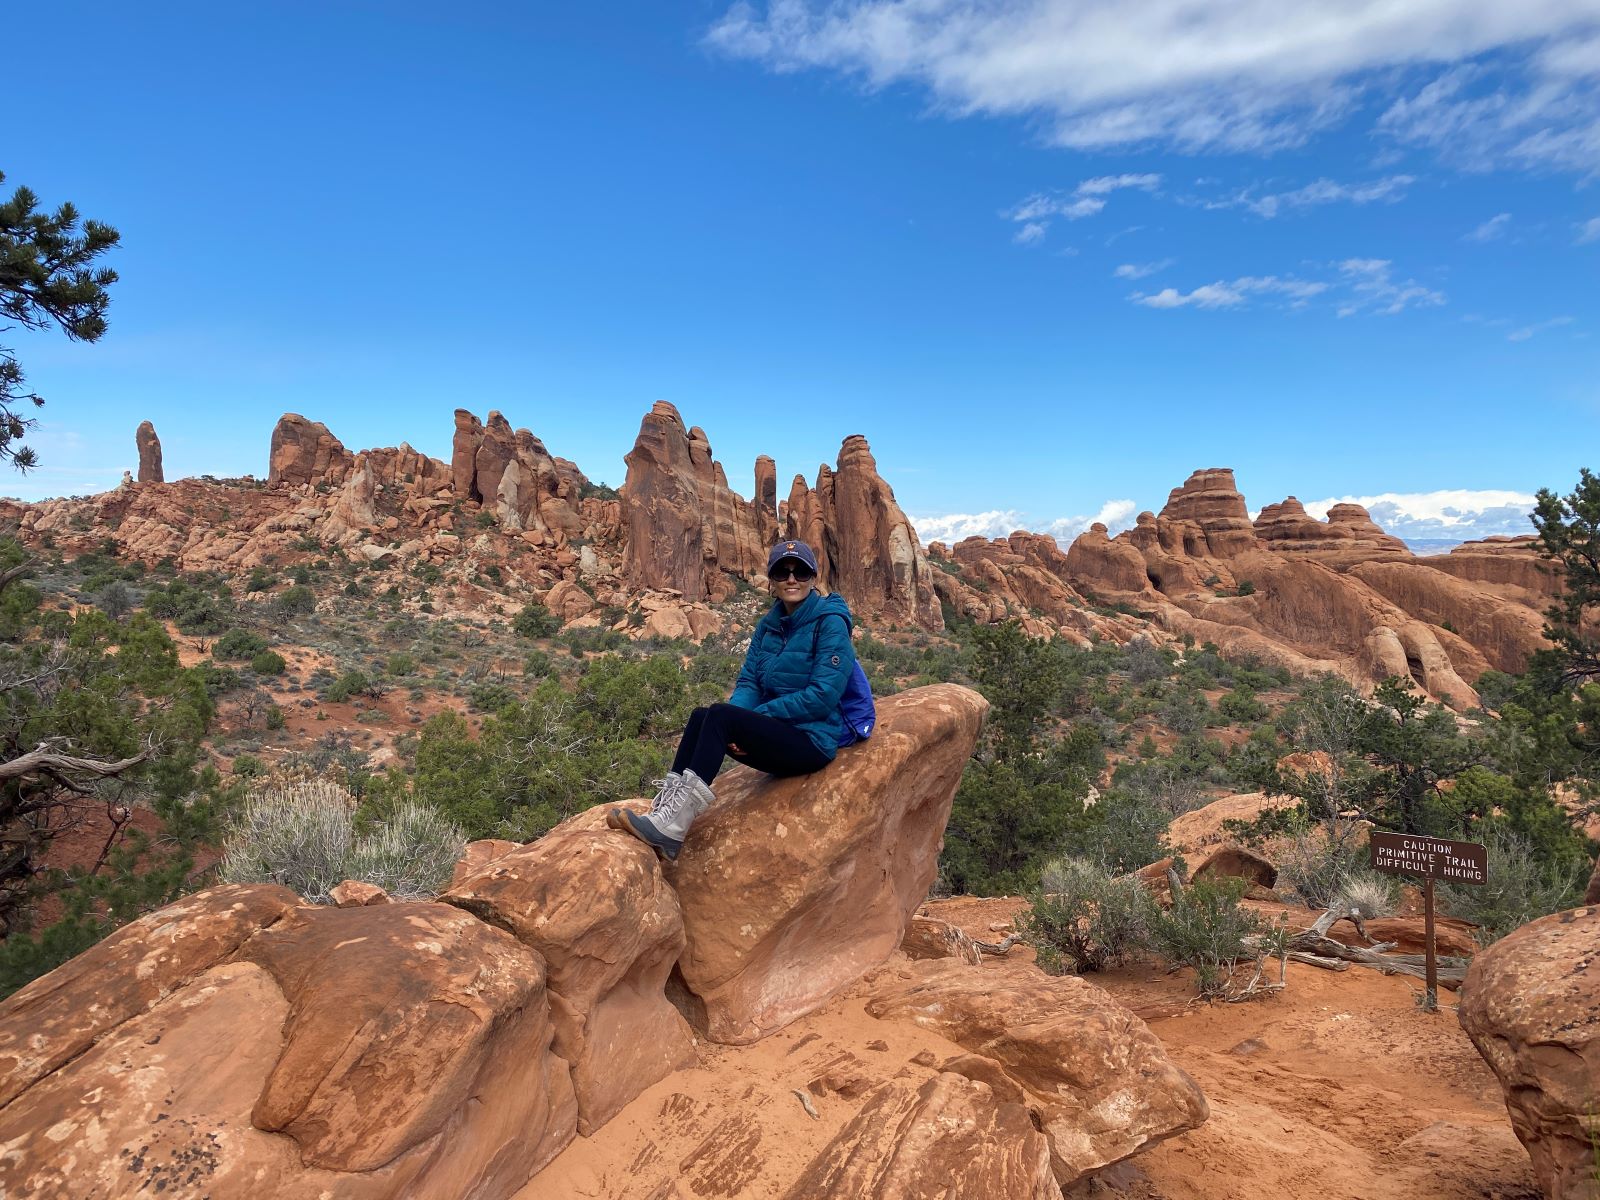
This is the best hike in the park, as it allows you to see several of the park’s best arches along the trail. And remember, it’s not aways about arches in the park – this trail offers views of some of the coolest rock formations and breathtaking landscapes. However, the trail is more challenging than advertised and took us around 4 and half hours to complete.
There are some sections that seem easy, but they are not made for those who have knee or feet issues. We did see people of every age do the full hike, but there were spots where some simply could not continue due to the terrain and physical limitations. If you are doing this hike, be prepared for rock scrambling and steep exposures along the way.
The Devils Garden trail is located at the very end of the park’s road, about 18 miles north of the entrance, taking approximately 45 minutes by car. Head to this trail early in the morning: you won’t have trouble finding parking at this time and the morning light will help you take the best pictures. There is also little to no shade so avoid this trail during the peak sun hours or bring the right gear and sunscreen.
Read blog: Devils Garden Trail in Arches National Park: The best hike in the park
3-Drive the Arches Scenic Drive
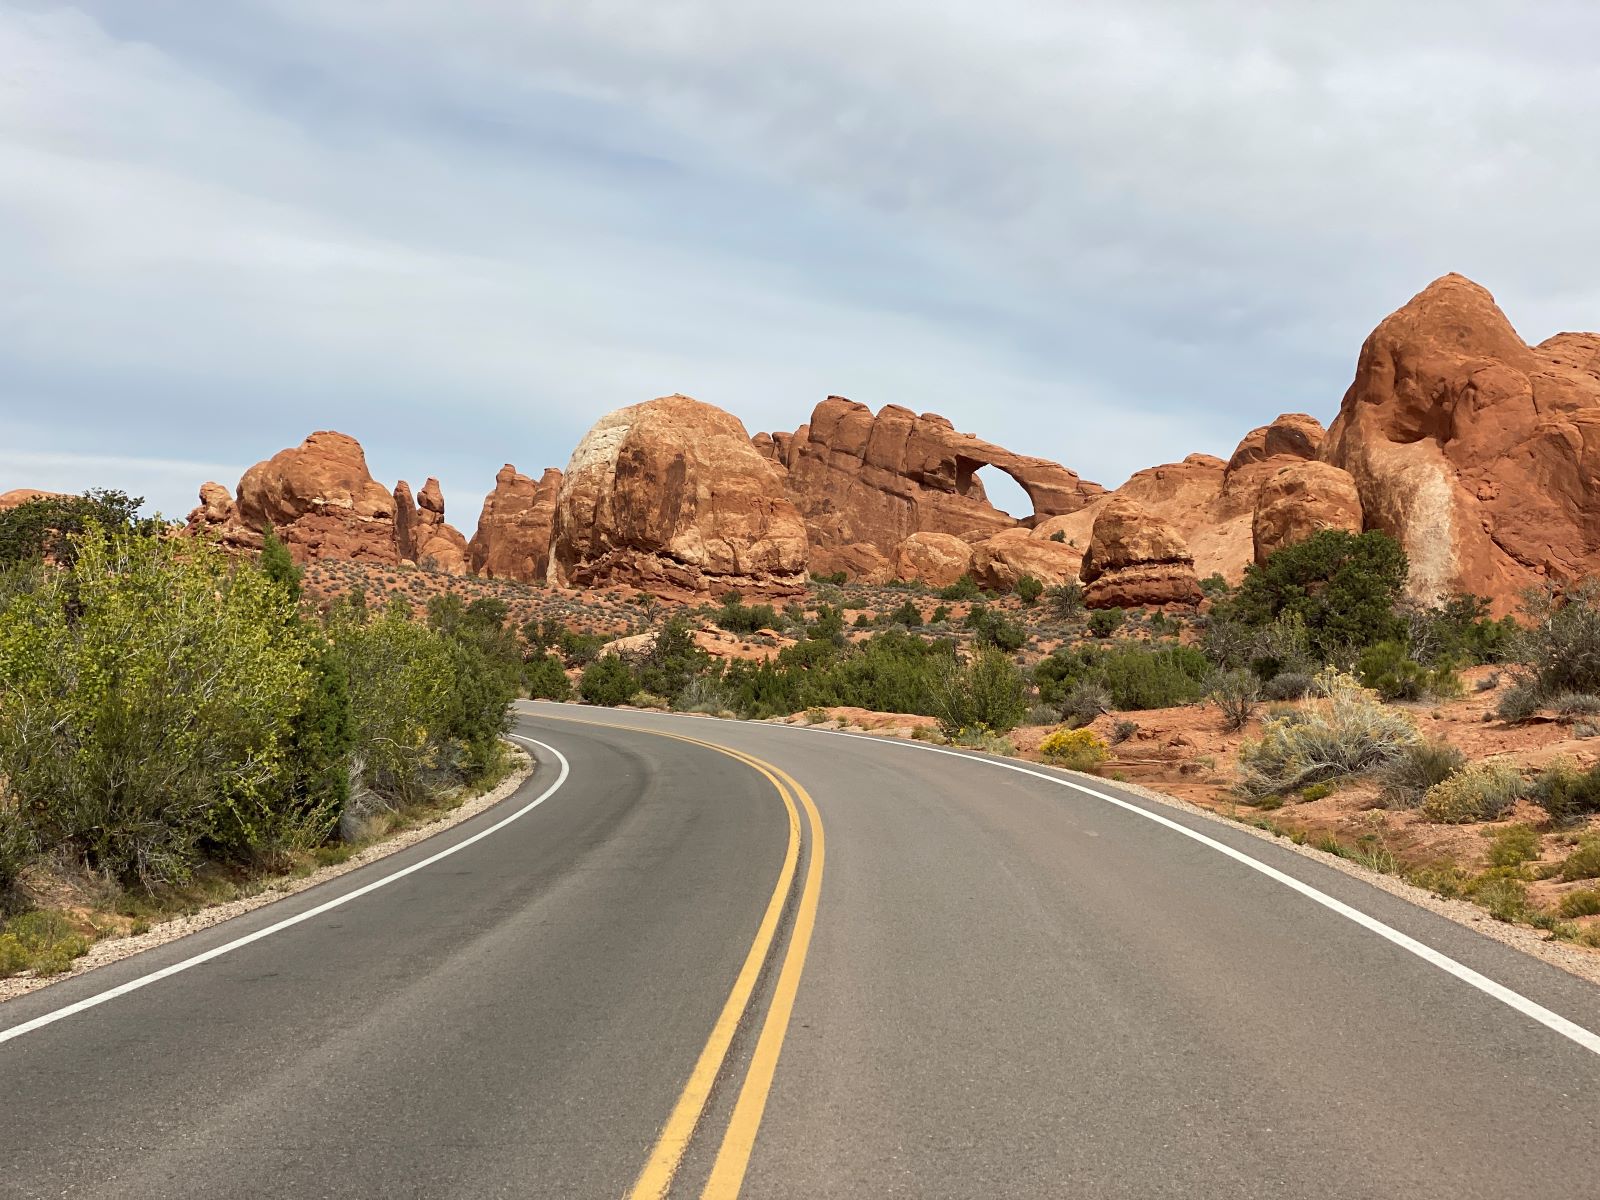
Skyline Arch. Arches National Park. Credit: Carolina Valenzuela
The Arches Scenic Drive is a 19-mile road which will take your breath away; it’s an easy drive, with a smooth paved road, unlike other parks you won’t need a special vehicle. Be prepared to pull over frequently to take pictures as each rock formation along the road is more stunning than the next – if you go towards sunrise or sunset the formations will glow with a deep orange hue.
If you only have a half day at the park, you can drive the whole park road and spend a couple of minutes at each viewpoint. Note that there are several arches which are located a short walk away from the road, so if you are tired from the trails, this is an easy rest day and you can still experience the beauty of the park.
4- Head to Delicate Arch
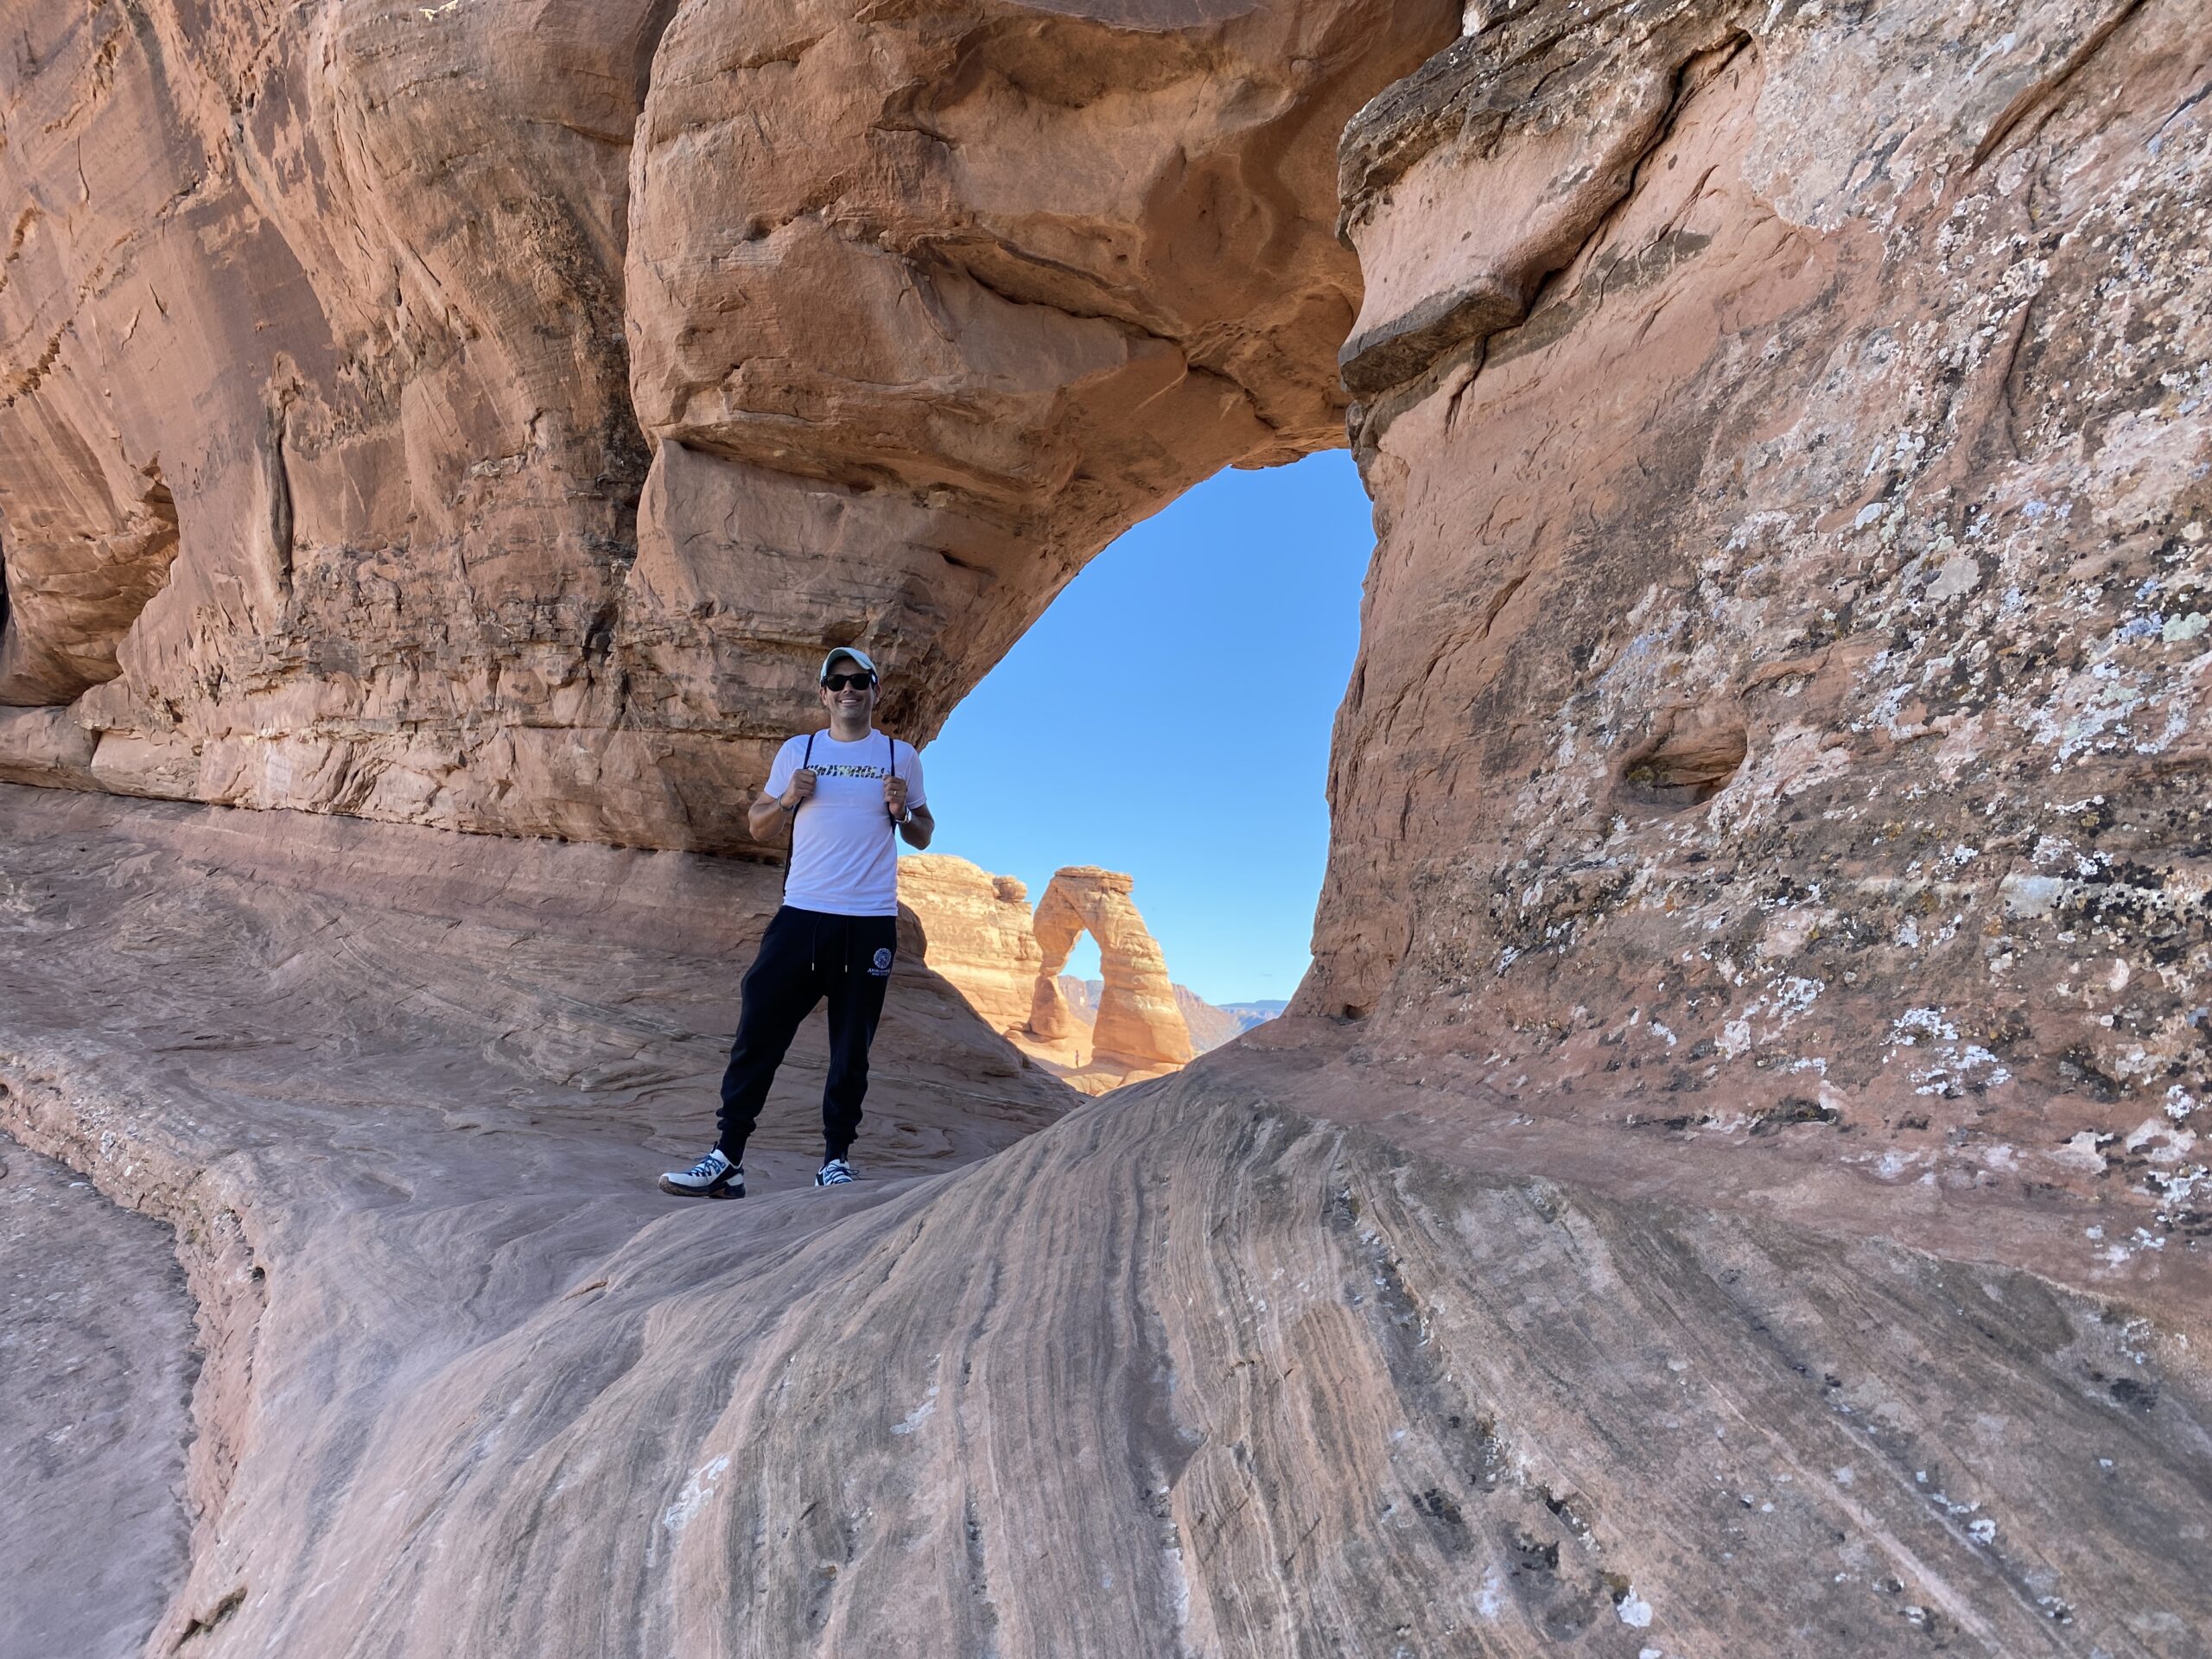
Delicate Arch. Arches National Park. Credit: Carolina Valenzuela
This is the most popular arch in the entire park – people will take lots of time taking pictures, so have lots of patience for the perfect picture. This trail climbs 480 feet (146 m) so it’s a bit more challenging if you are combining this hike with the Devil Garden Trail in one day – like we did. It’s a tiring climb uphill, but we saw people of all ages along the way.
The view of Delicate Arch is amazing – especially during sunset. There are tons of photo spots that offer different angles for a unique picture, and one “donut hole” if you are brave enough to climb up the side of a nearby formation.
If for some reason you can’t do this hike, don’t worry you can still see Delicate Arch by heading to two alternative viewpoints. The Lower Delicate Arch Viewpoint, located close to the parking lot, allows you to see the arch from one mile away; the Upper Viewpoint allows you to see it a bit closer, but you will need to walk for a little bit along the trail. While you are here, take the opportunity to visit Wolfe Ranch, which will show how early American settlers lived, and the nearby petroglyphs made by ancient members of the Utes.
5- Visit Park Avenue
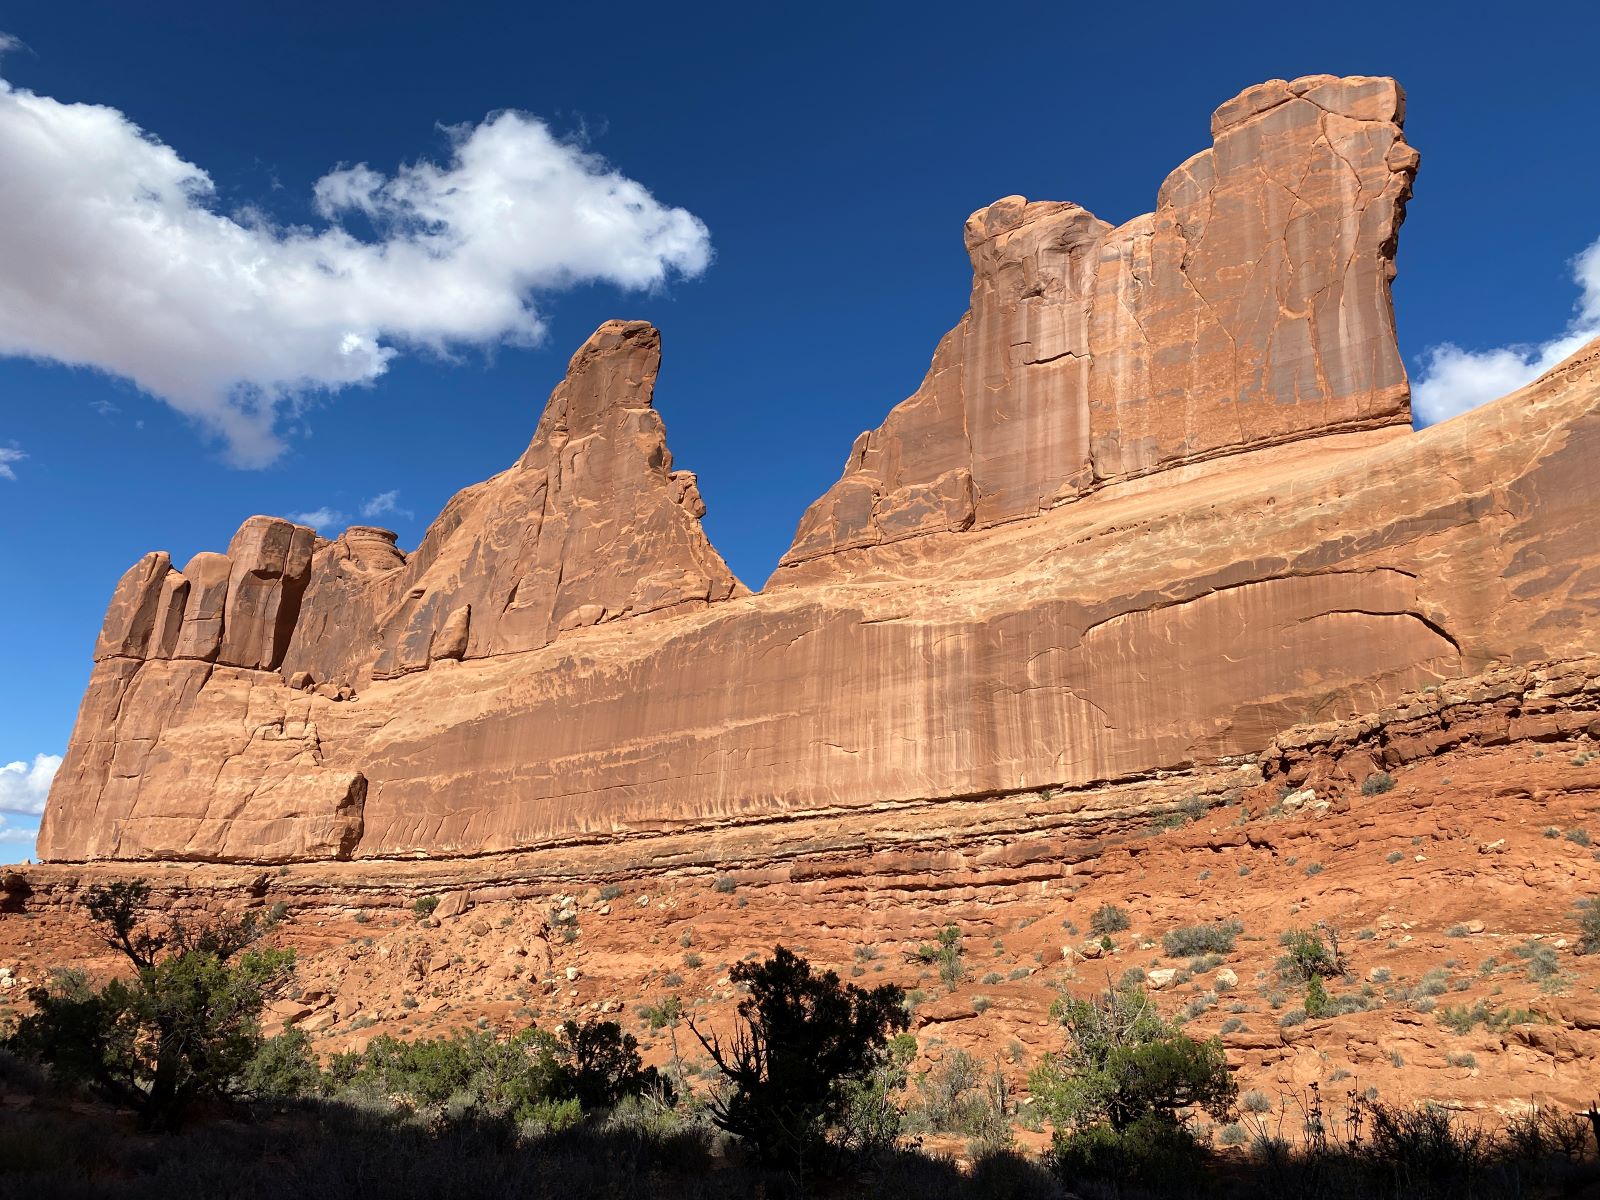
Park Avenue. Arches National Park. Credit: Carolina Valenzuela
Reminiscent of the New York’s famed Park Avenue, this section of the park’s rock formations looks like skyscrapers. This hike can take you between 30-60 minutes to complete and is very easy to do. When you park your car, you’ll see a small landing over look and some steep stairs located to the left. We highly recommend you descend into the canyon, as the experience is breathtakingly beautiful. When you arrive at the bottom, you’ll feel tiny compared to the massive rock formations that will surround you, much like the skyscrapers in New York. Depending on the time of day, the shadows may cause problems to get the perfect picture.
6- Stargazing
My husband loves looking at the stars to identify the constellations…and this park is perfect for stargazing! There are several overlooks in the park with open views of the sky to get amazing vistas with the stars (and Milky Way) in the background; The Windows and Panorama Point are among the most popular spots.
7- Get stunned by Balanced Rock
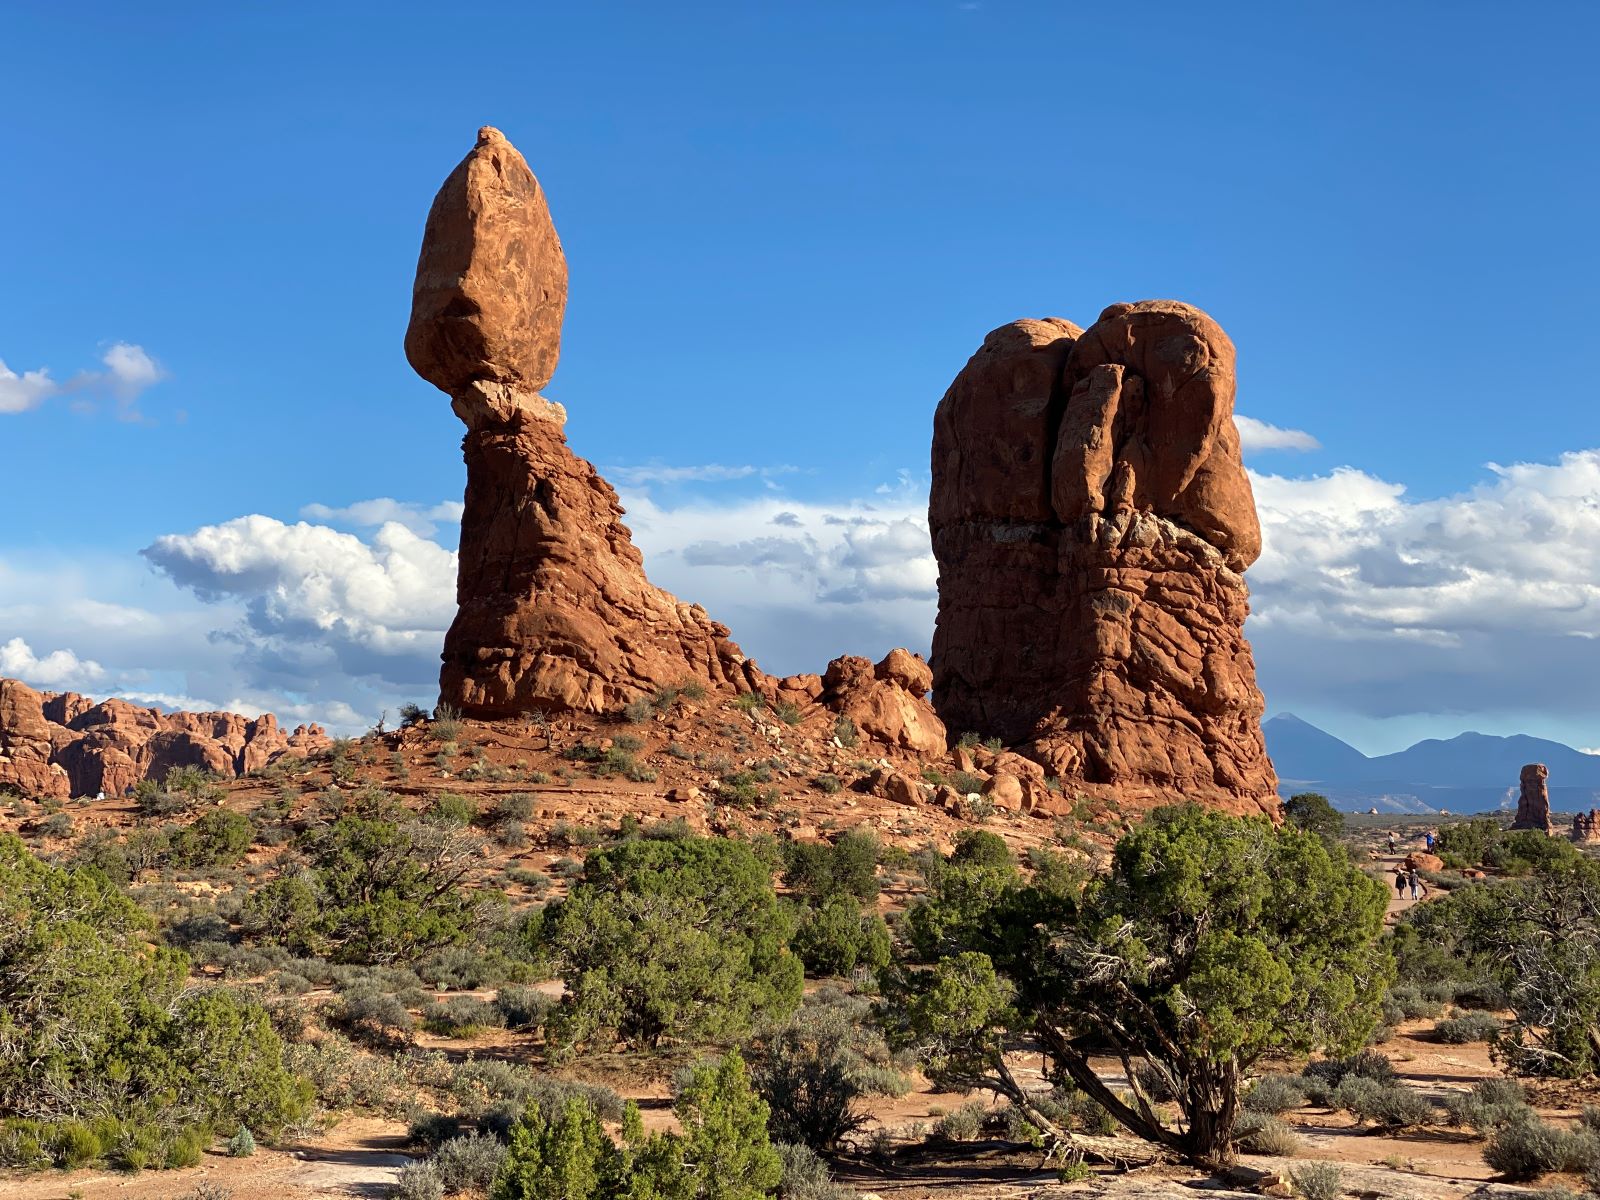
Balanced Rock. Arches National Park. Credit: Carolina Valenzuela
Balanced Rock is on of those natural formations that will perplex you with its beauty. Located a short walk away from the main road, the paved trail is only 0.3 miles trail making it an easy 15-minute walk to complete. There are few words to describe this formation, and pictures do not do it justice; make sure you take the opportunity to walk around Balanced Rock for some stunning photographs. You can also go a bit off trail to explore, but the terrain is a bit rocky for sneakers.
8-Visit The Windows
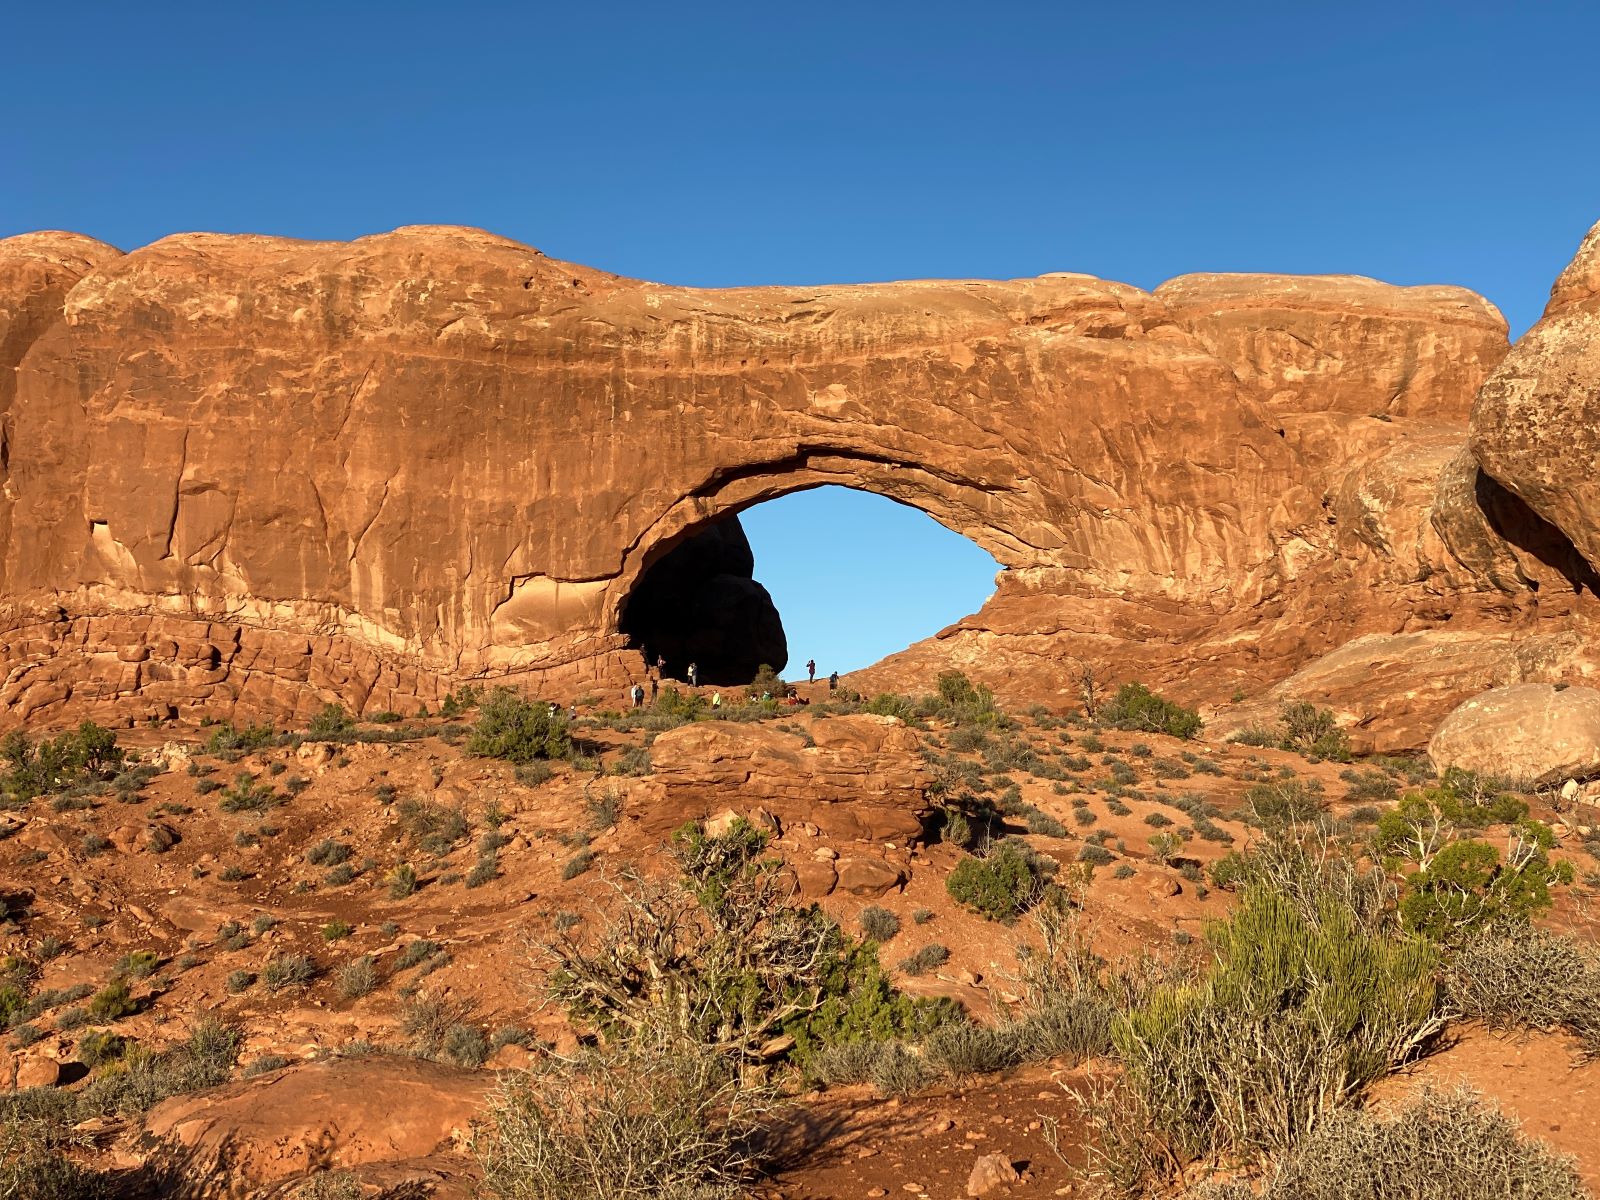
The Windows. Arches National Park. Credit: Carolina Valenzuela
The Windows area (North and South) is a must when visiting Arches National Park and will allow you to see some of the park’s largest arches. The Windows are located a short walk away from two other cool arches – Turret Arch and Double O Arch – giving you plenty to visit when you are on this trail. We recommend you head to this section of the park early in the morning as the parking lot gets full very quickly.
The North Window Arch will give you a “frame” photograph of Turret Arch. I have to confess I was a bit scared to walk to the photo spot, as the path looked a bit dangerous to me. Thankfully my husband was brave (or dumb) enough to walk onto the ledge to take this picture.
9- Stop by Double Arch
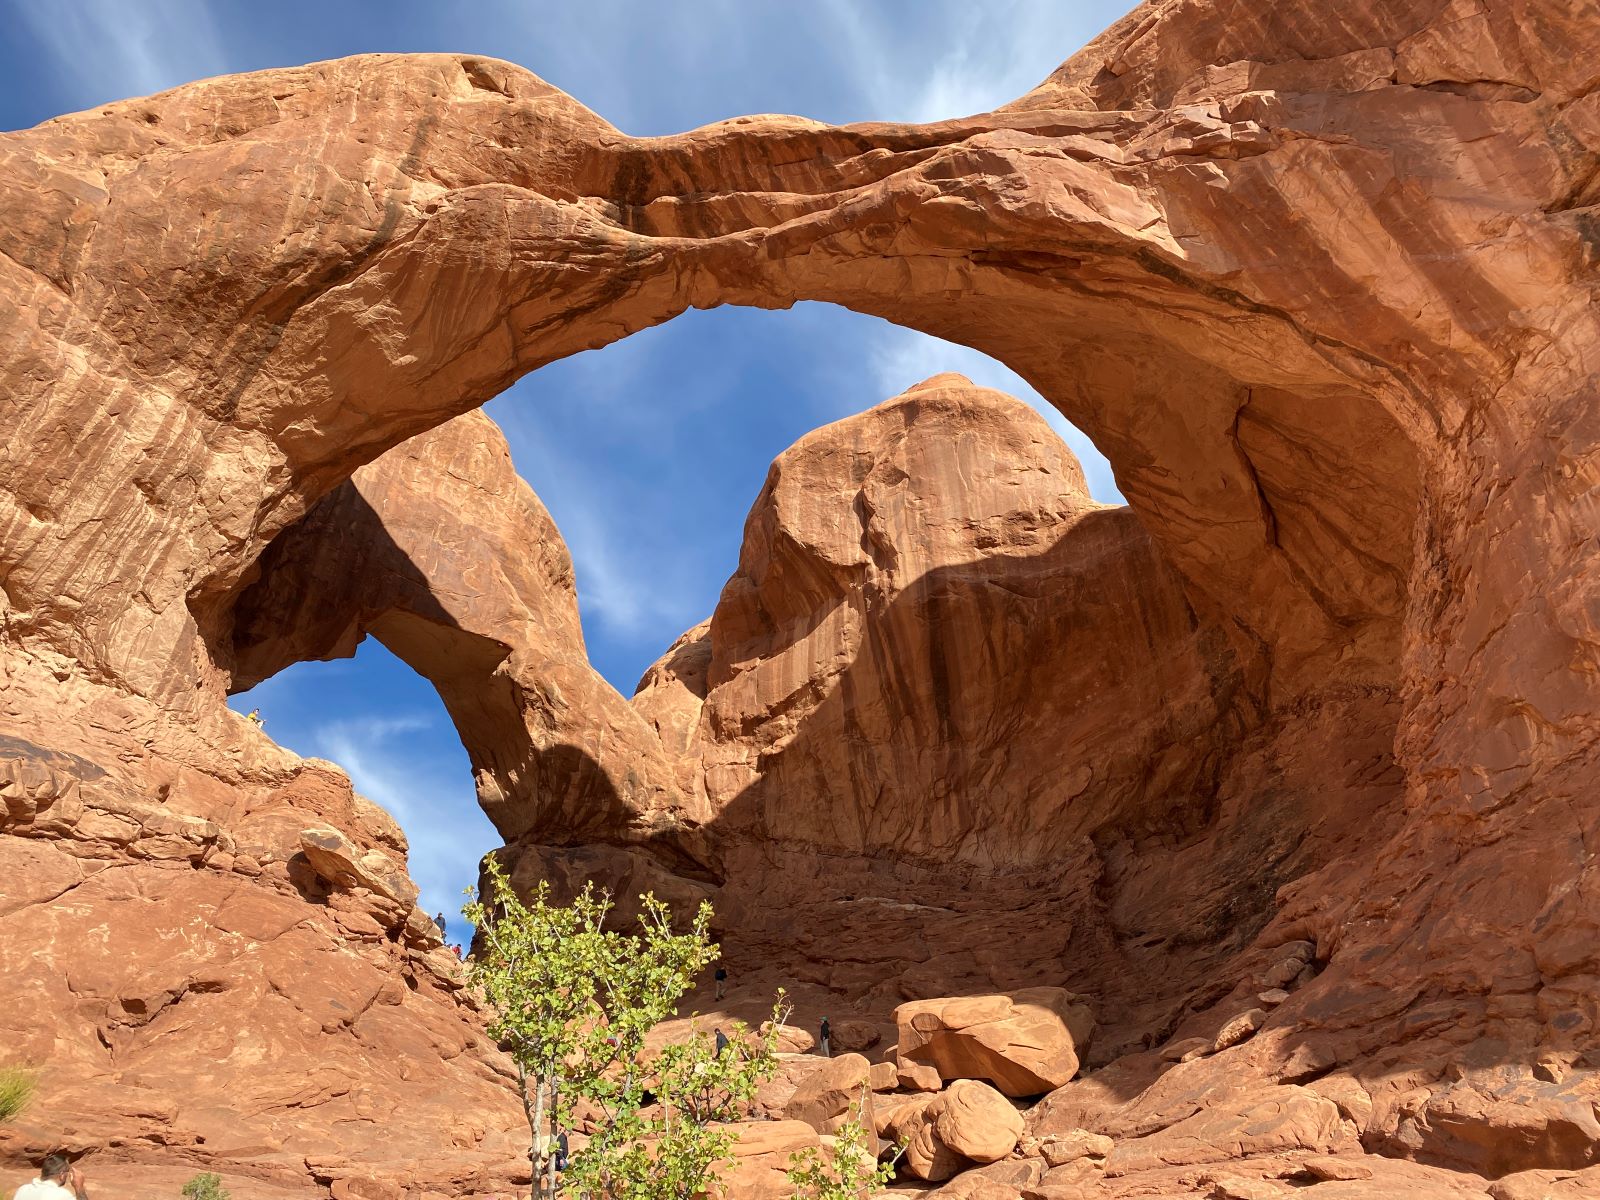
Double Arch. Arches National Park. Credit: Carolina Valenzuela
While at The Windows, make sure you take the short walk over to Double Arch and stand underneath, one of the few arches where you can do so. There is a flat, easy trail that leads you to two massive arch spans. Many visitors will climb up for the view, but don’t look down the other way through the arch – my husband who rarely gets scared had a small panic attack looking down the sheer cliff on the other side. Before you leave, make sure to check out the parade of elephants – it’s amazing how the rock formations truly resemble elephants walking past visitors.
10 – Useful tips
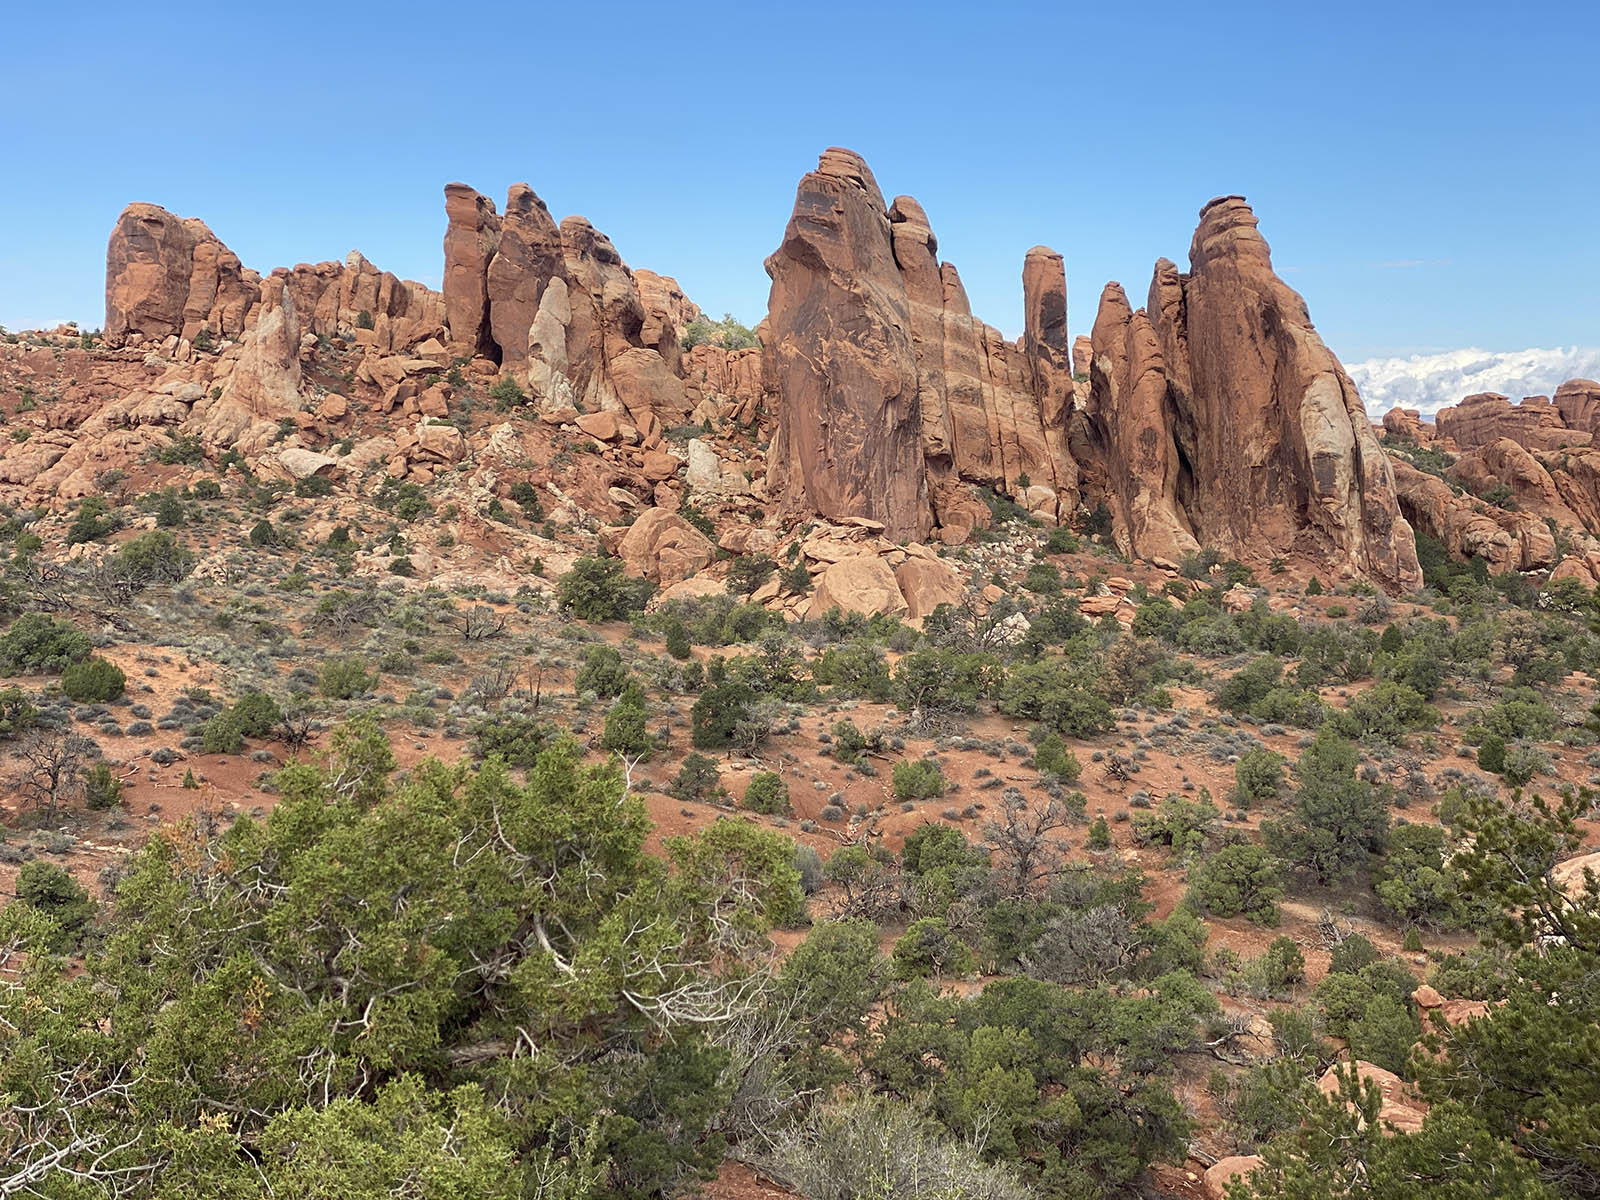
Devils garden trail in Arches National Park, Utah. Credit: Carolina Valenzuela
- The park gets really crowded and you’ll have to wait to enter the park, one time it took us 30 minutes, but we have heard it can take much longer. To avoid the long lines, head to Arches by 7:30 am at the latest.
- If you are hiking, make sure you bring appropriate gear and plenty of water.
- There is hardly any shade and it can get unbearably hot during the day, especially in summer – a hat and sunscreen are mandatory if you want to avoid a sunburn or mitigate sun poisoning.
- There were several areas in the park where we didn’t have any cell phone coverage so don’t exclusively rely on your mobile phone for directions.
- Small rock piles (called cairns) mark the routes. Therefore, don’t build your own or move the rocks around as it can be misleading for other hikers.
We are part of several affiliate programs including Amazon and Viator which means that we will earn a small commission at no extra cost to you if you make a purchase through the links included in this post.
