Devils garden trail in Arches National Park: The best hike in the park
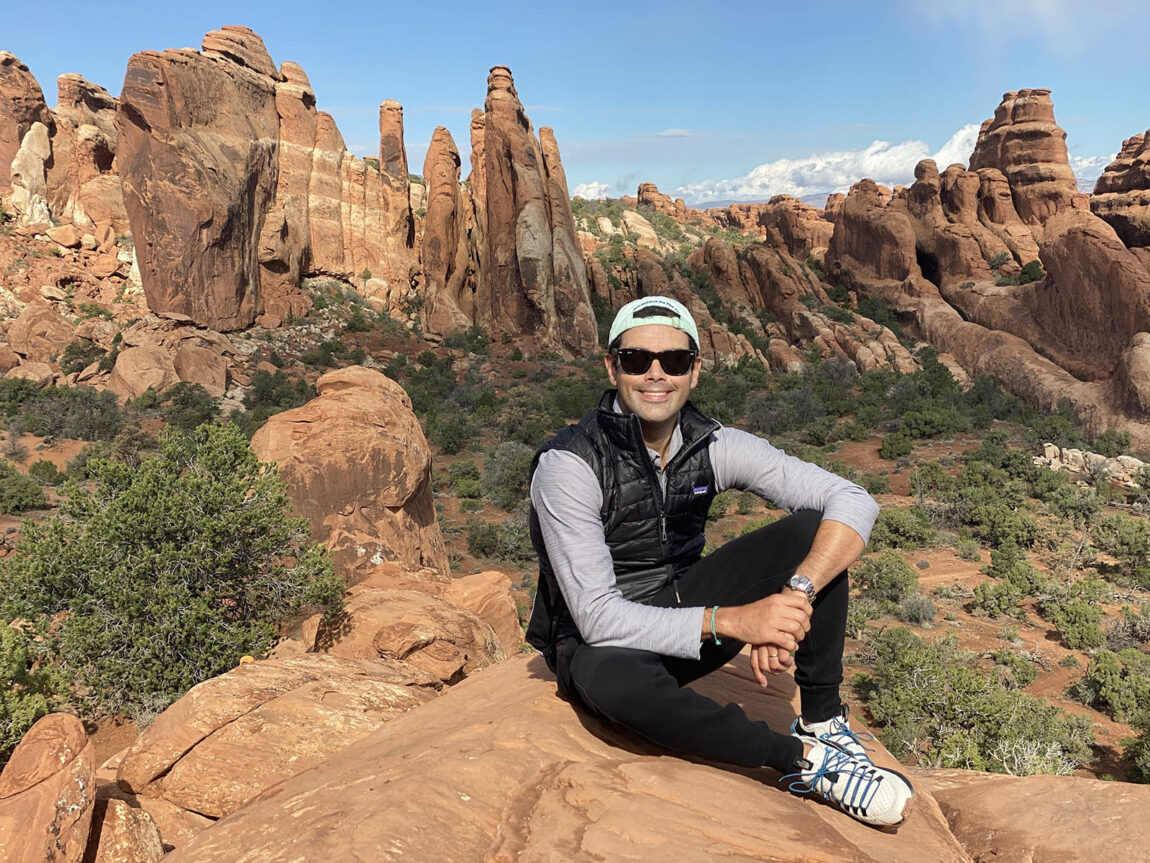
The Devils Garden Trail in Arches National Park offers visitors the chance to experience a one-of-a-kind park with several arches and amazing rock formations along the hike.
The Devils Garden Trail is hands down the best hike in Arches National Park so you definitely cannot miss it. Throughout the hike, you will encounter up close several arches, spires, and fins that will take your breath away. You’ll immediately notice the intense color spectrums that range from dark red to rusty hues, and as the sun hits, you’ll get vibrant, fiery oranges. Note that the pictures that are included in this post have not been Photoshopped. These amazing colors are all natural, just as we experienced them in person.
The Devils Garden Trail is located at the very end of the park road. It’s 18 miles north of Arches Visitor Center taking approximately 45 minutes pending stops and traffic (yes, traffic – Arches is one of the most visited parks in the US). Note that the parking lot of this trail can get packed very early in the morning, so plan accordingly. We recommend you arrive around 7:30 am so that you don’t have trouble finding parking. Additionally, in the morning the light will be best to take pictures of most of the arches.
Tip: The trail is quite challenging as it is a 7.9 miles (12.6 kms) hike and it involves steep exposures, uneven surfaces, along with a bit of rock scrambling. It took us around 4:30 hours to complete this trail. And yes, we were exhausted when we finally arrived back to our car.
The first part of the trail is really easy and quite flat. However, as you start hiking beyond the Landscape Arch, the trail gets more difficult, with some tricky footing. The good news is that you can turn around at any time and don’t need to hike the entire trail to enjoy some of the arches.
Distances
- Landscape Arch and back: 1.9 miles (3.1 km)
- Trails to Pine Tree and Tunnel Arches: Add 0.5 miles (0.8 km)
- Double O Arch and back: 4.1 miles (6.6 km)
- Trails to Navajo and Partition Arches: Add 0.8 miles (1.3 km)
- Dark Angel and back via main trail: 4.9 miles (7.9 km)
- Dark Angel; return via Primitive Trail: 6.6 miles (10.6 km)
Total distance: 7.9 miles (12.6 km)
The Devils Garden Trail
Once you park your car, head to the entrance of the trail. Here you will find bathrooms so make you sure you go if you need to since the hike ahead will take some time. The trailhead is well-marked with several signs letting you know what arch or landmark is coming next. The only part where we were a bit confused as to where we should go next is when we were hiking towards Double O Arch. We noticed that several people were lost as well as there were no clear signs as to where to go next. As with many trails in Moab, you’ll have to keep your eyes open for subtle signs such as cairns, or a very small sign post with an arrow head symbol.
Once you are on the trail, you first should take the spur to see two arches: Pine Tree Arch and Tunnel Arch which are located between the trailhead and Landscape Arch. This is a short detour well worth it as it’s only 0.5 miles round trip so really doable.
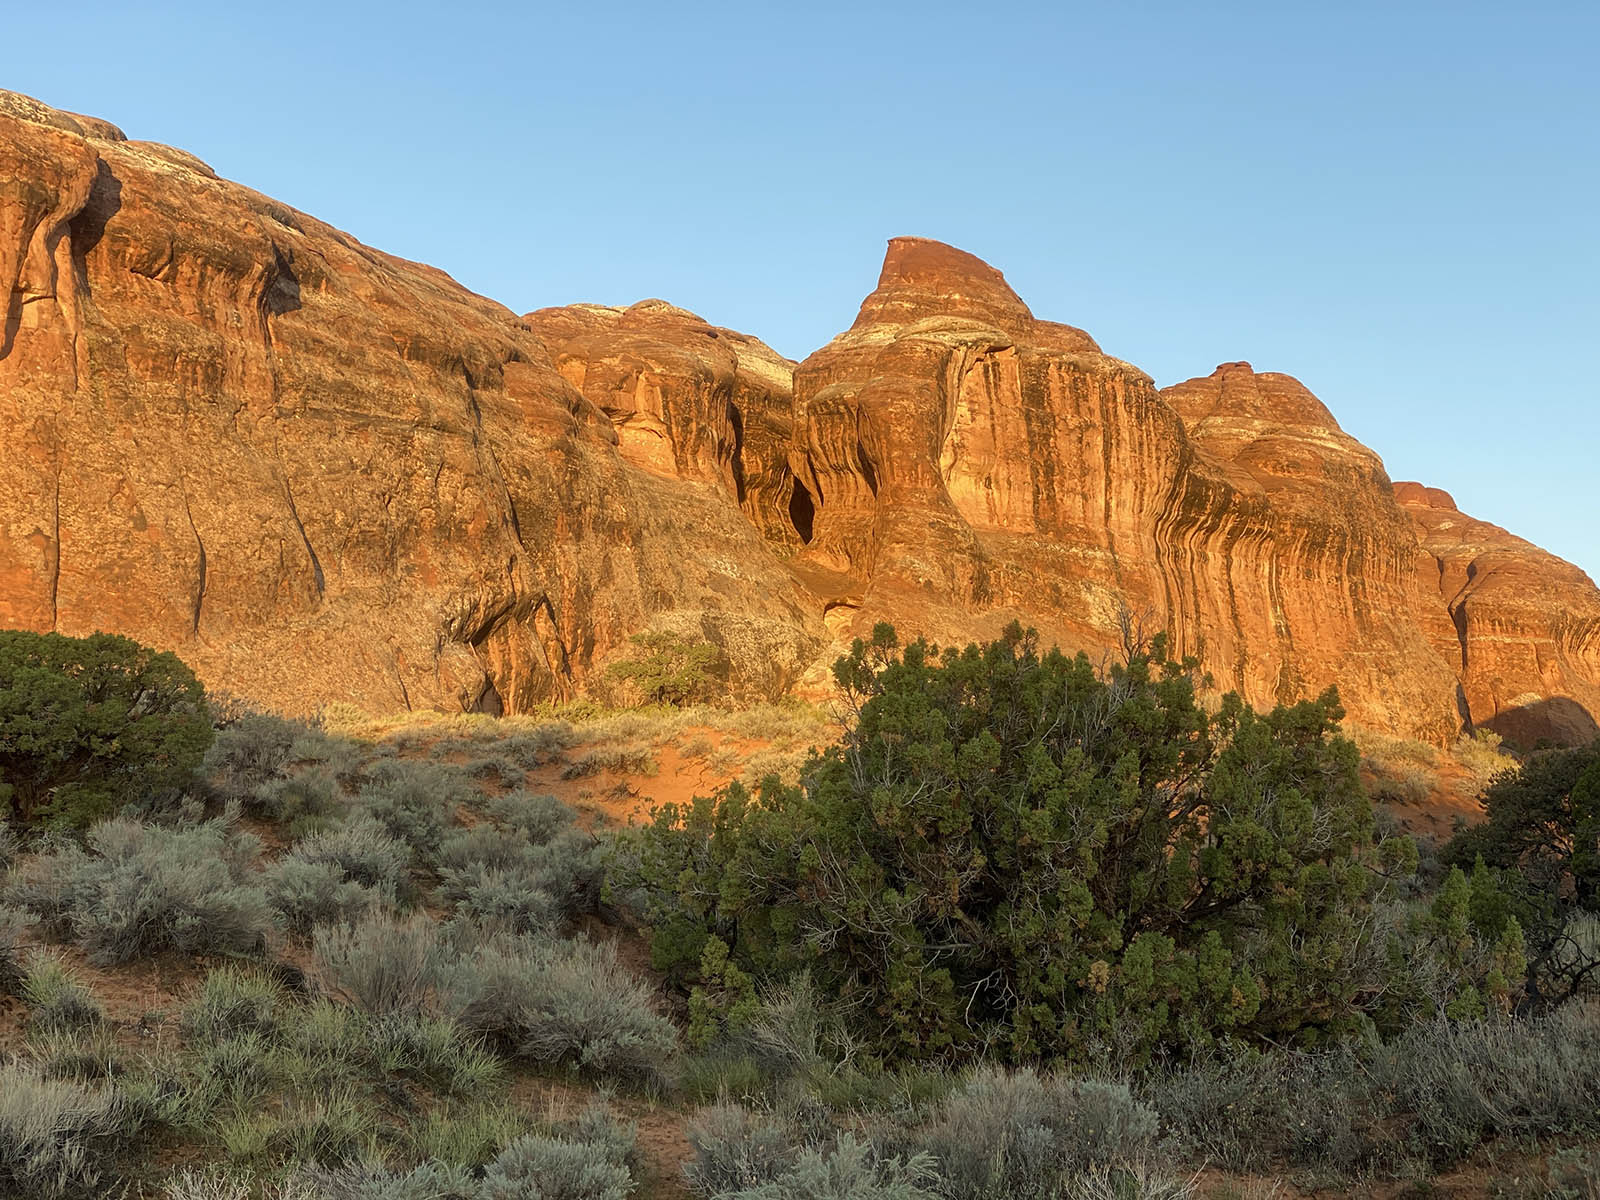
Arches National Park, Utah. Credit: Carolina Valenzuela
Tunnel Arch: While you can’t really get too close to the arch, it still deserves a picture, especially in the morning when the sun hits. If you are hiking this trail during the morning, you will get perfect lighting for photos. Continue to Pine Tree Arch.
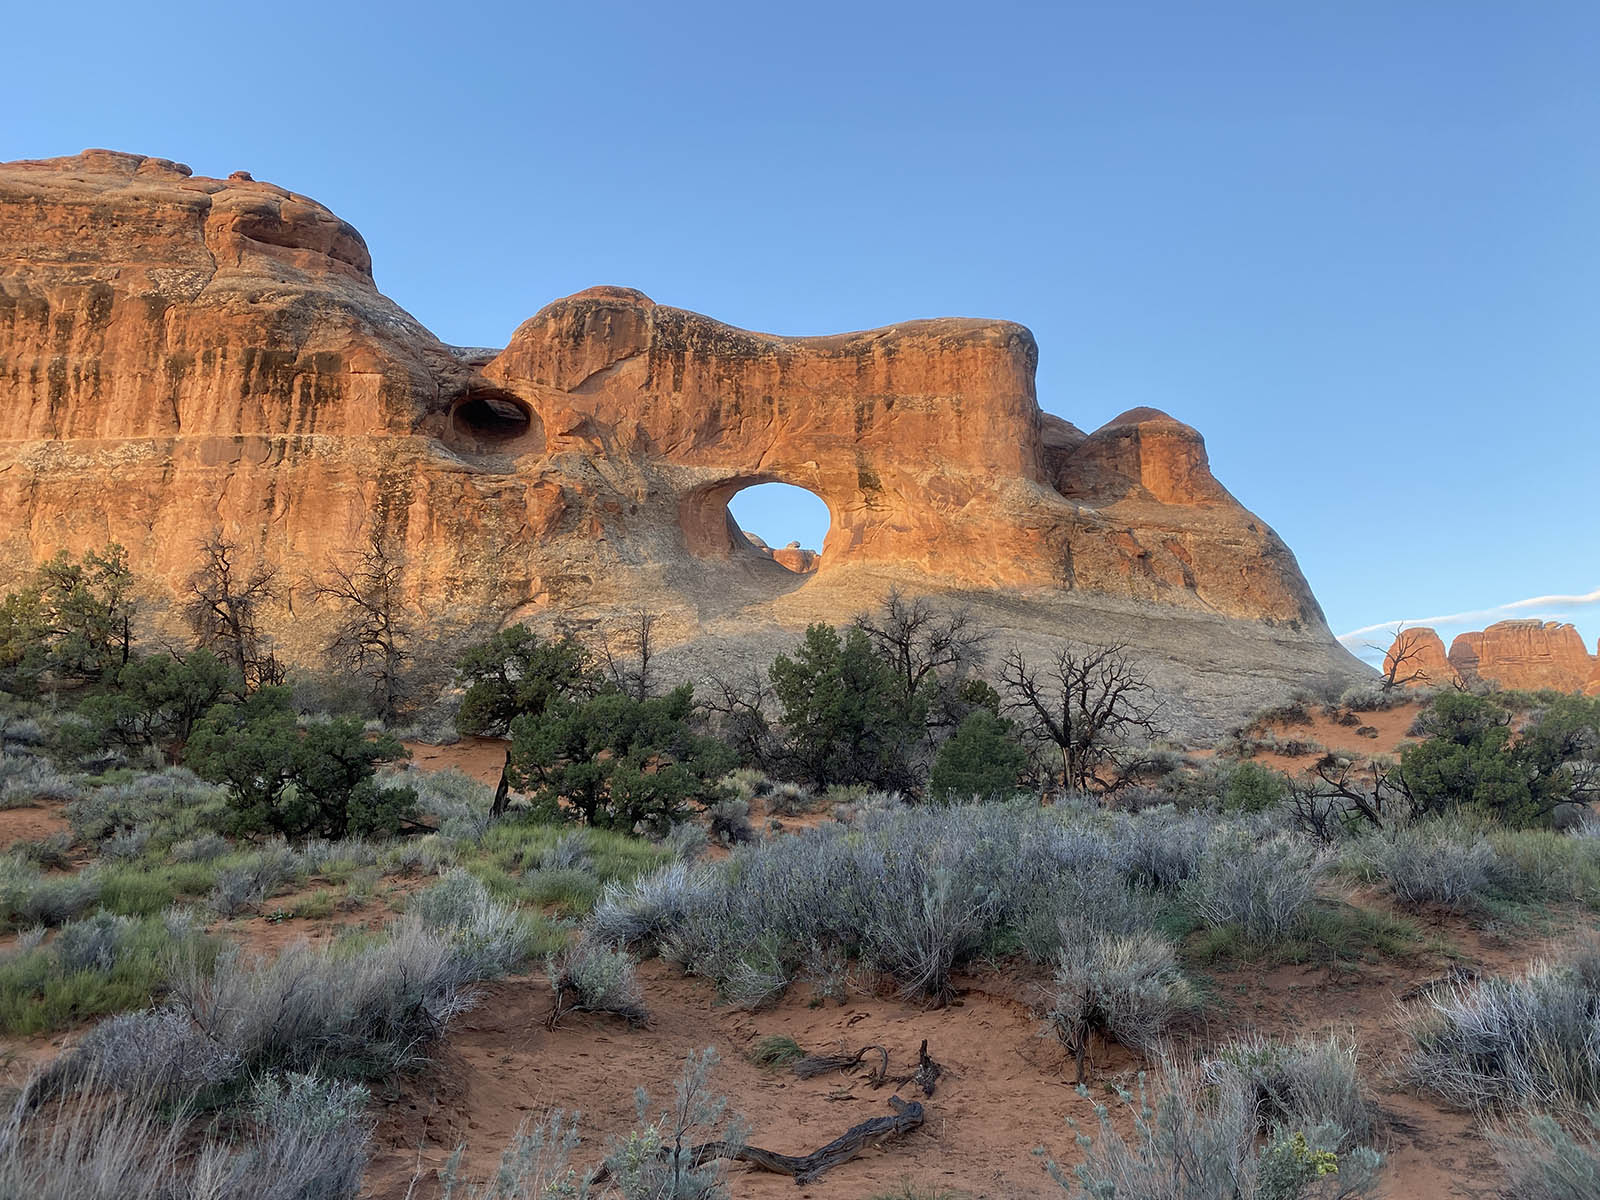
Tunnel Arch. Arches National Park, Utah. Credit: Carolina Valenzuela
Pine Tree Arch: This is a really nice arch that’s worth a quick visit. Again, the morning light will be perfect for a photo so don’t miss it. Retrace your steps and continue hiking to Landscape Arch.
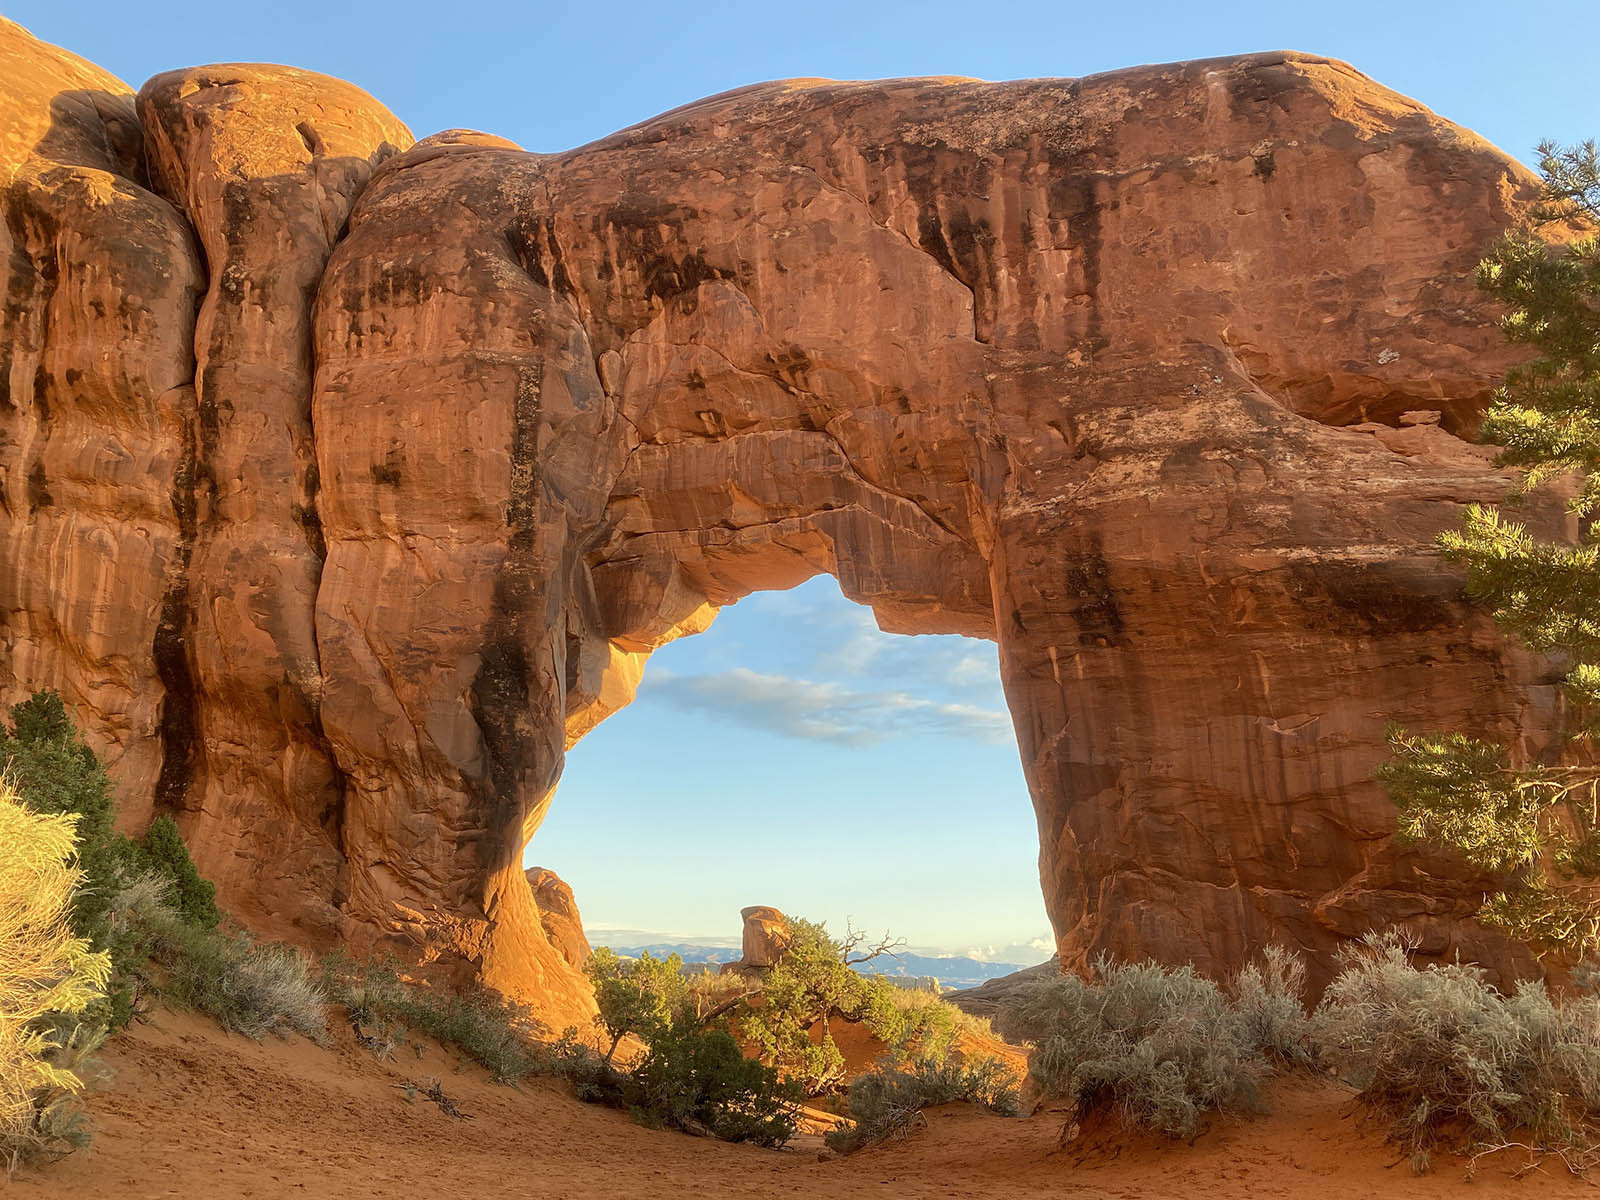
Pine Tree Arch. Arches National Park. Credit: Carolina Valenzuela
Landscape Arch: The hike to Landscape Arch is quite easy as there haven’t been any significant elevation gain or huge ups and downs. In 1991, a 60-foot-long rock broke away from Landscape Arch’s right side causing massive rockfall; 180 tons of rocks were found on the ground. After this collapse, the trail which took visitors up and under the arch was closed and it remains closed today due to safety reasons.
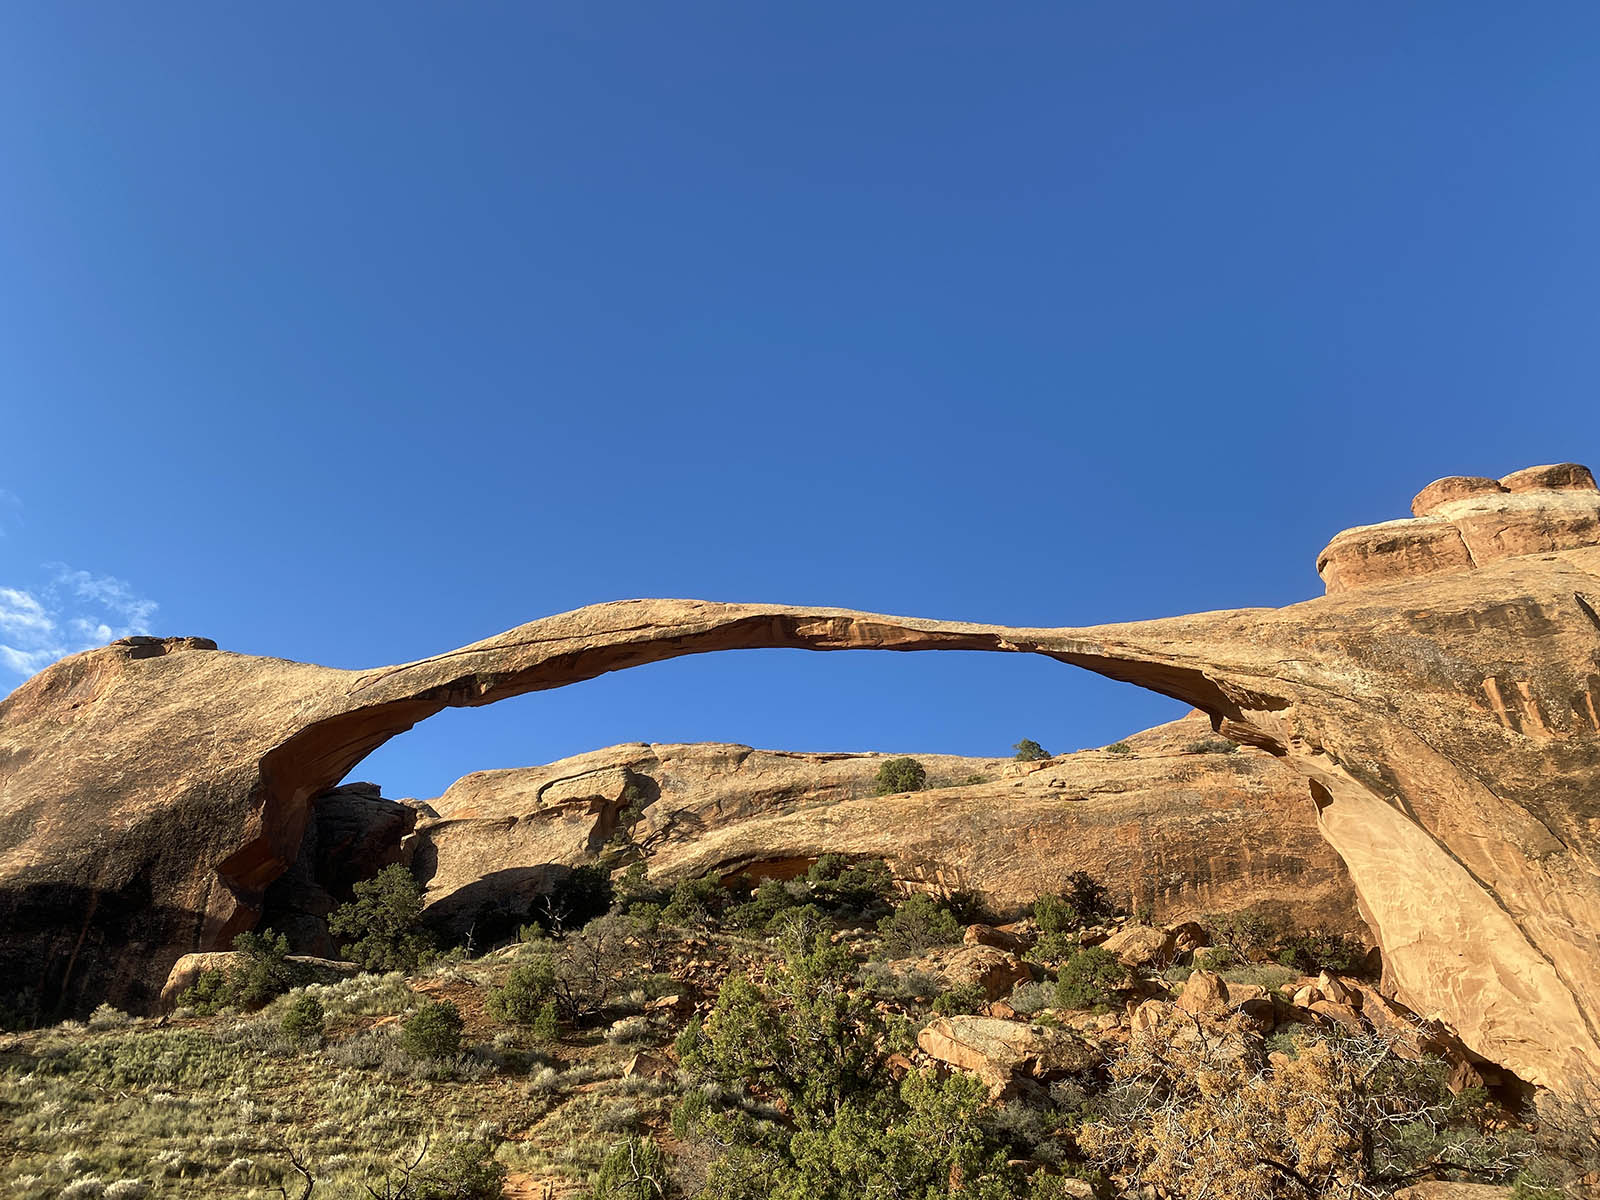
Landscape Arch in Arches National Park, Utah. Credit: Carolina Valenzuela
Unfortunately, the eventual collapse of the arch is all too real, as the battle with gravity is always a losing one; so we should all take advantage and visit it before it’s too late. The best time to photograph this arch is in the early morning. You probably be tempted to take pictures of the arch as soon as you see it, however, you’ll find the best angles after a short walk down the trail.
Tip: Right after you see the Landscape Arch you’ll come up to a long sloping rock formation. In order to continue the hike you have to climb it and then go around. Hidden behind the formation is a small sign post, which is easily missed. This is one of the tougher parts of the trail and some visitors with balance issues did not continue; however, there were lots of young kids who were able to do this part easily.
Located one third of the way between Landscape Arch and Double O Arch you can make a short detour to visit two arches: Navajo Arch and Partition Arch. Adding these two arches to your hike will add 0.8 miles (1.3 km) but they are totally worth it. Partition Arch splits off Navajo’s arch trail. It doesn’t really matter which arch you visit first.
Navajo Arch: This arch looks more like a cave than an arch, and you can get “inside” for a cool view. When we visited it had rained the day before and there was water inside, forming a shallow pool, so we couldn’t really enjoy it. If you are pressed for time, this is the arch that I’d skip.
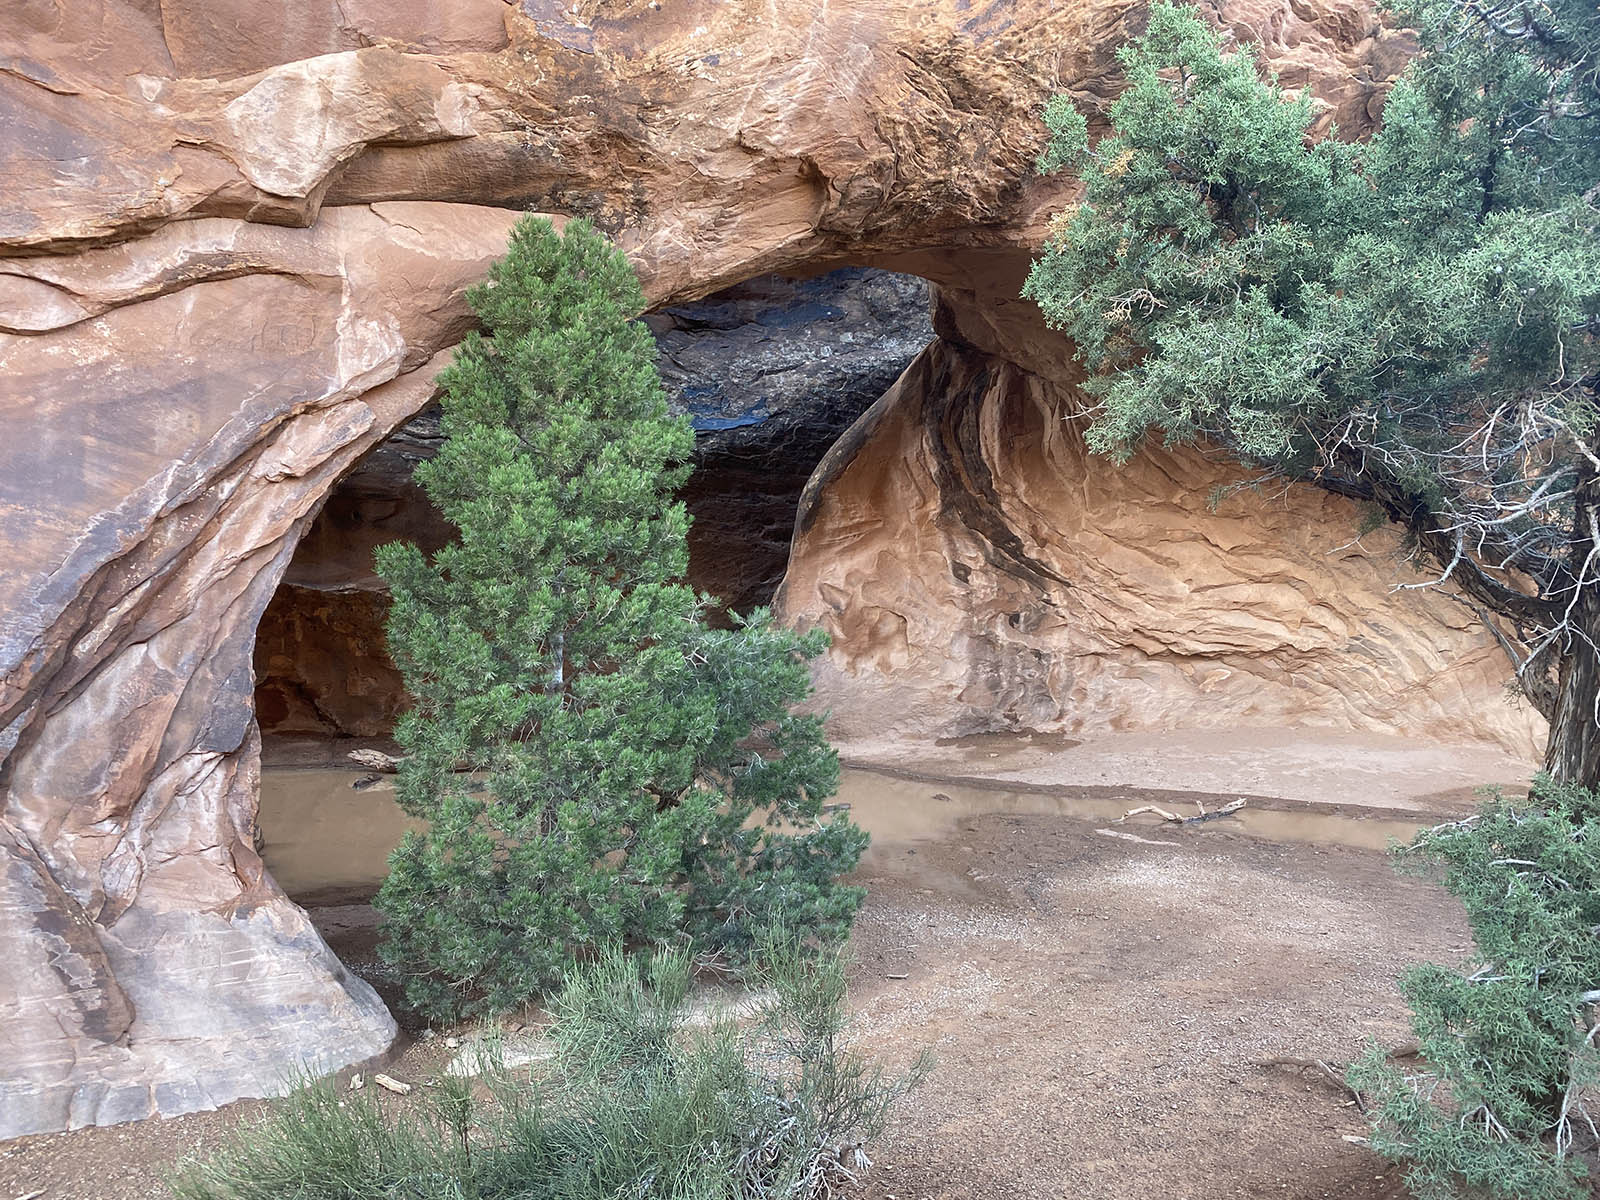
Navajo Arch, Arches National Park. Credit: Carolina Valenzuela
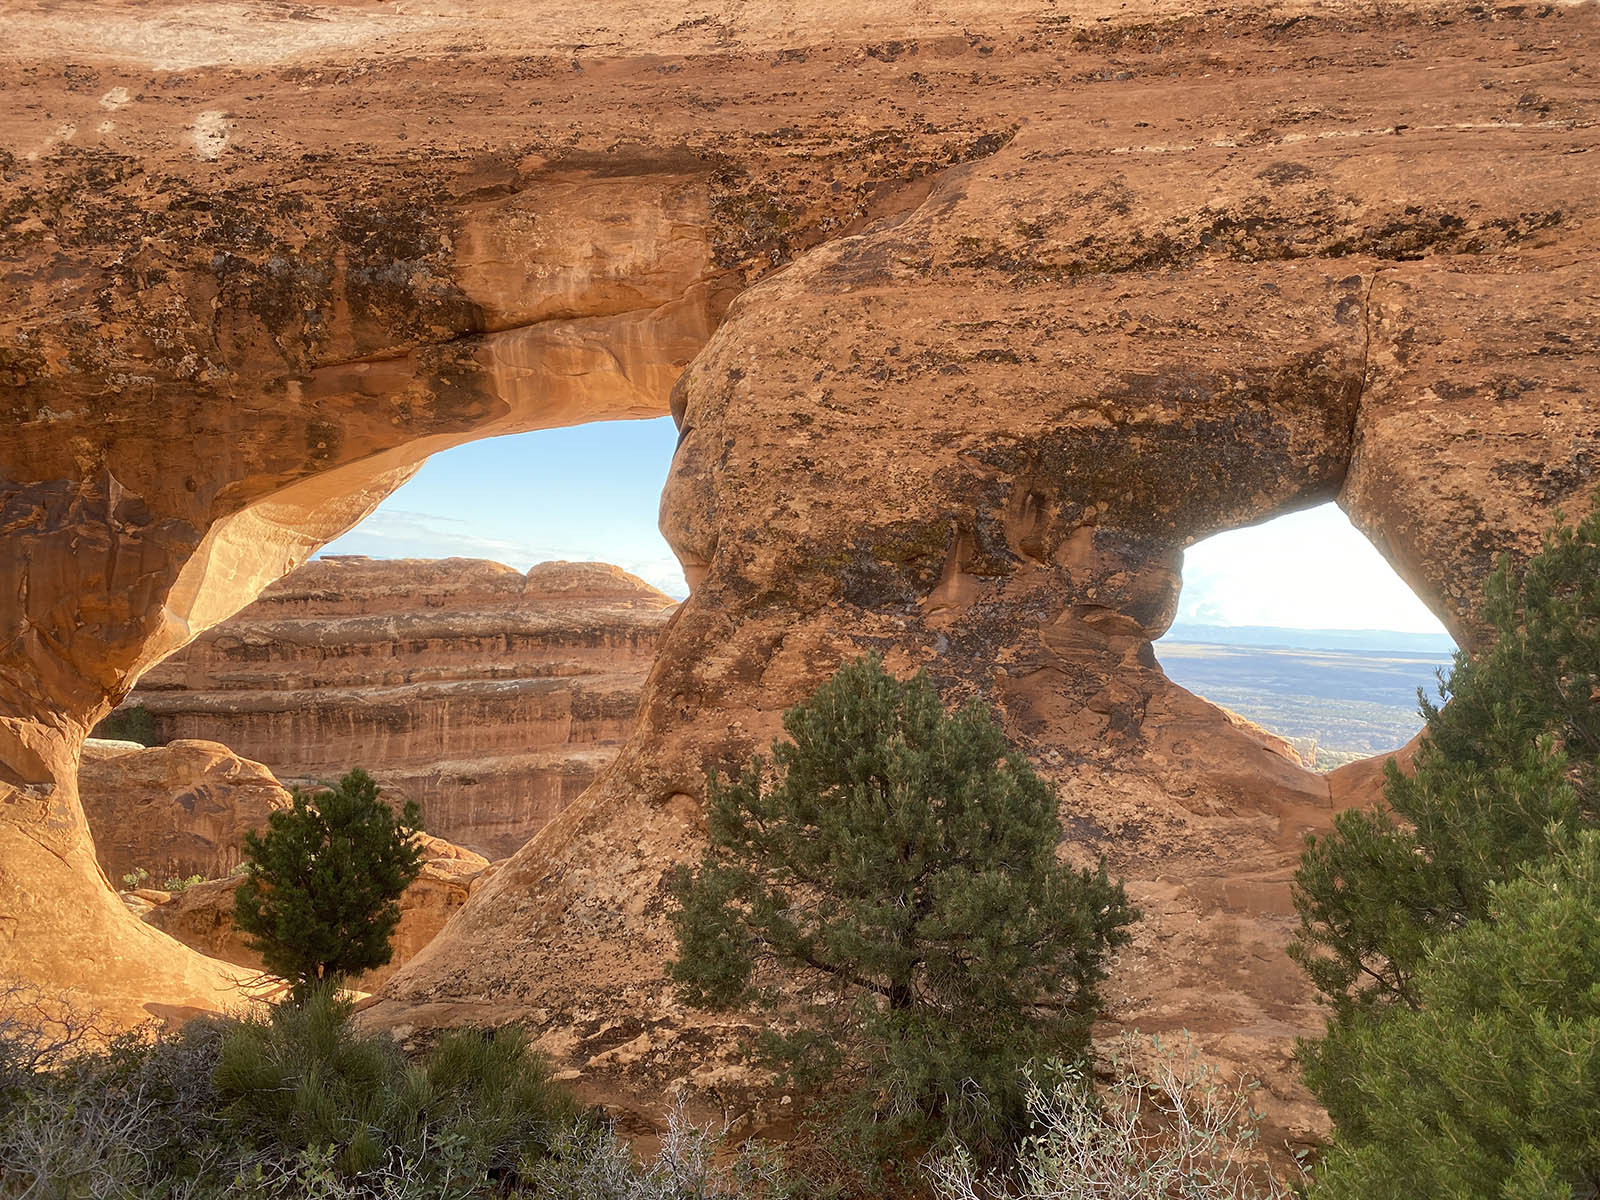
Partition Arch: This arch was among my favorites as it offers amazing views. The arch has two windows where you can enjoy one of the best views in the park. Take the opportunity to walk through the arch to the other side – you’ll walk through the massive window and enjoy the amazing landscape on the edge of the cliff giving you unexpected views.
Tip: Before getting to Double O Arch you will see the “Black Arch Overlook”. Don’t forget to take a picture of this arch. You can’t get close to it but it provides a really nice photo that shouldn’t be missed.
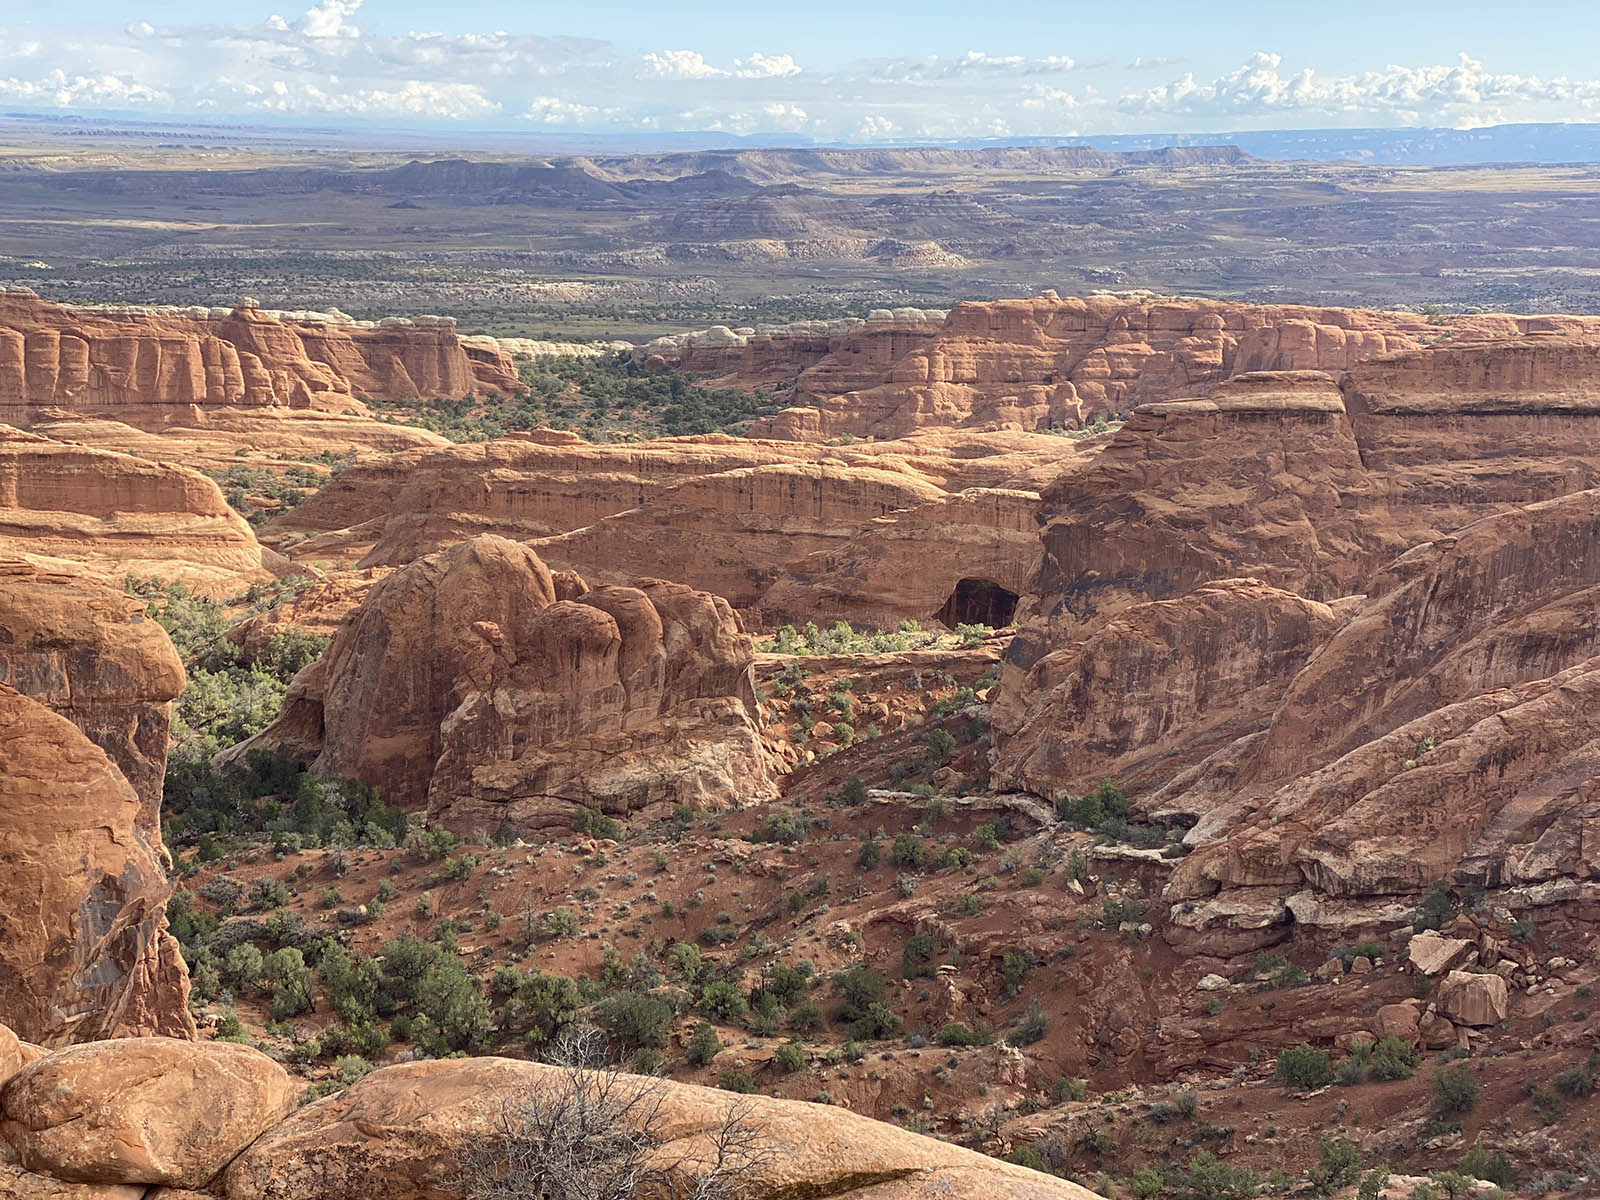
Black Arch Overlook. Arches National Park. Credit: Carolina Valenzuela
Here is where the trail gets more challenging as you’ll have to climb up a rock formation (this time, it’s similar to a massive ramp). Be careful as there are narrow ledges with steep drop-offs as well as elevation gain, and the footing you’ll come across can be slippery. As the trail gets more challenging, it also gets more stunning – some of our favorite photos we took are from this part of the hike. Take some time to enjoy the amazing rock formations all around you. Here you will probably spend some time taking quite a few pictures.
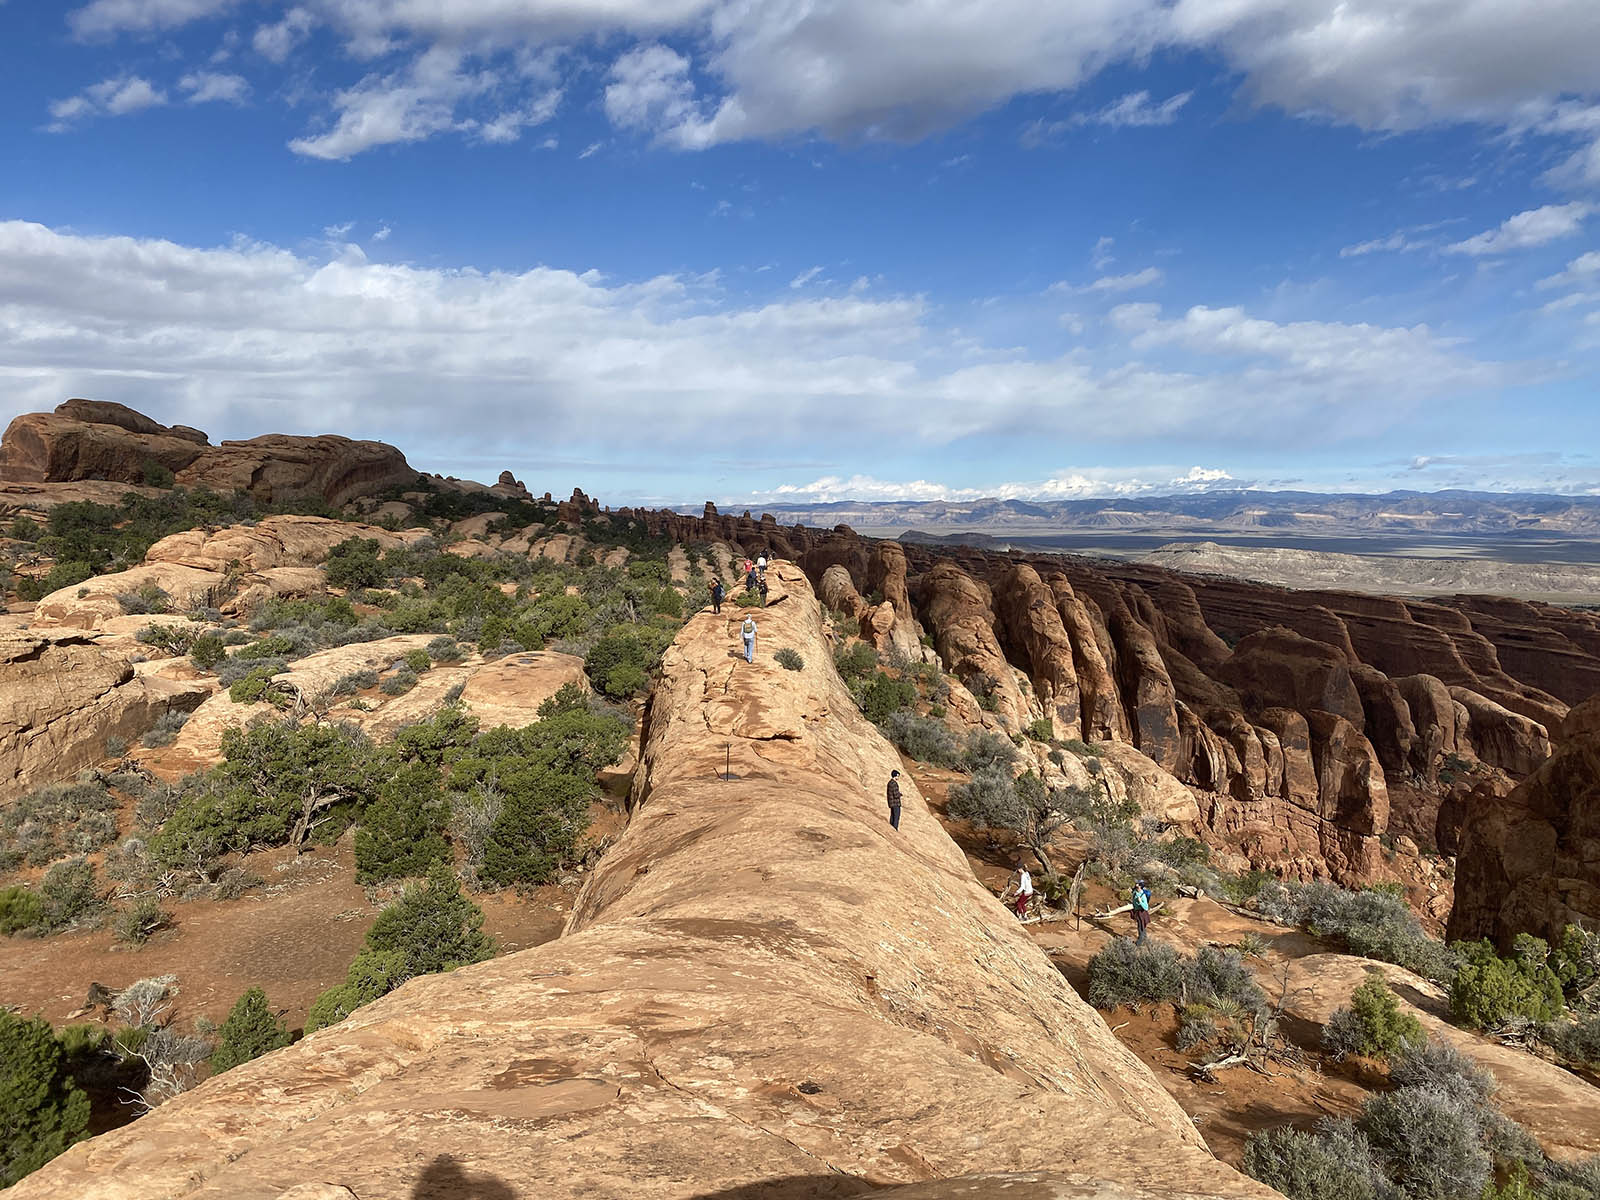
Devils garden trail in Arches National Park, Utah. Credit: Carolina Valenzuela
Double O Arch: You’ll need to use your hands and feet to climb during parts of this trail, as this third path on a rock formation is awkward – it slants downwards, so you’ll need to keep your balance; a broad range of age and experience crossed this path, so you don’t need to be an expert to continue. Even though this part of the hike is challenging, we recommend that if you can, you do it as it offers amazing views all around. We had some issues photographing this arch as, by the time we reached this point, the light was not the best. It’s probably better to photograph this arch in the afternoon. From here continue hiking to Dark Angel.
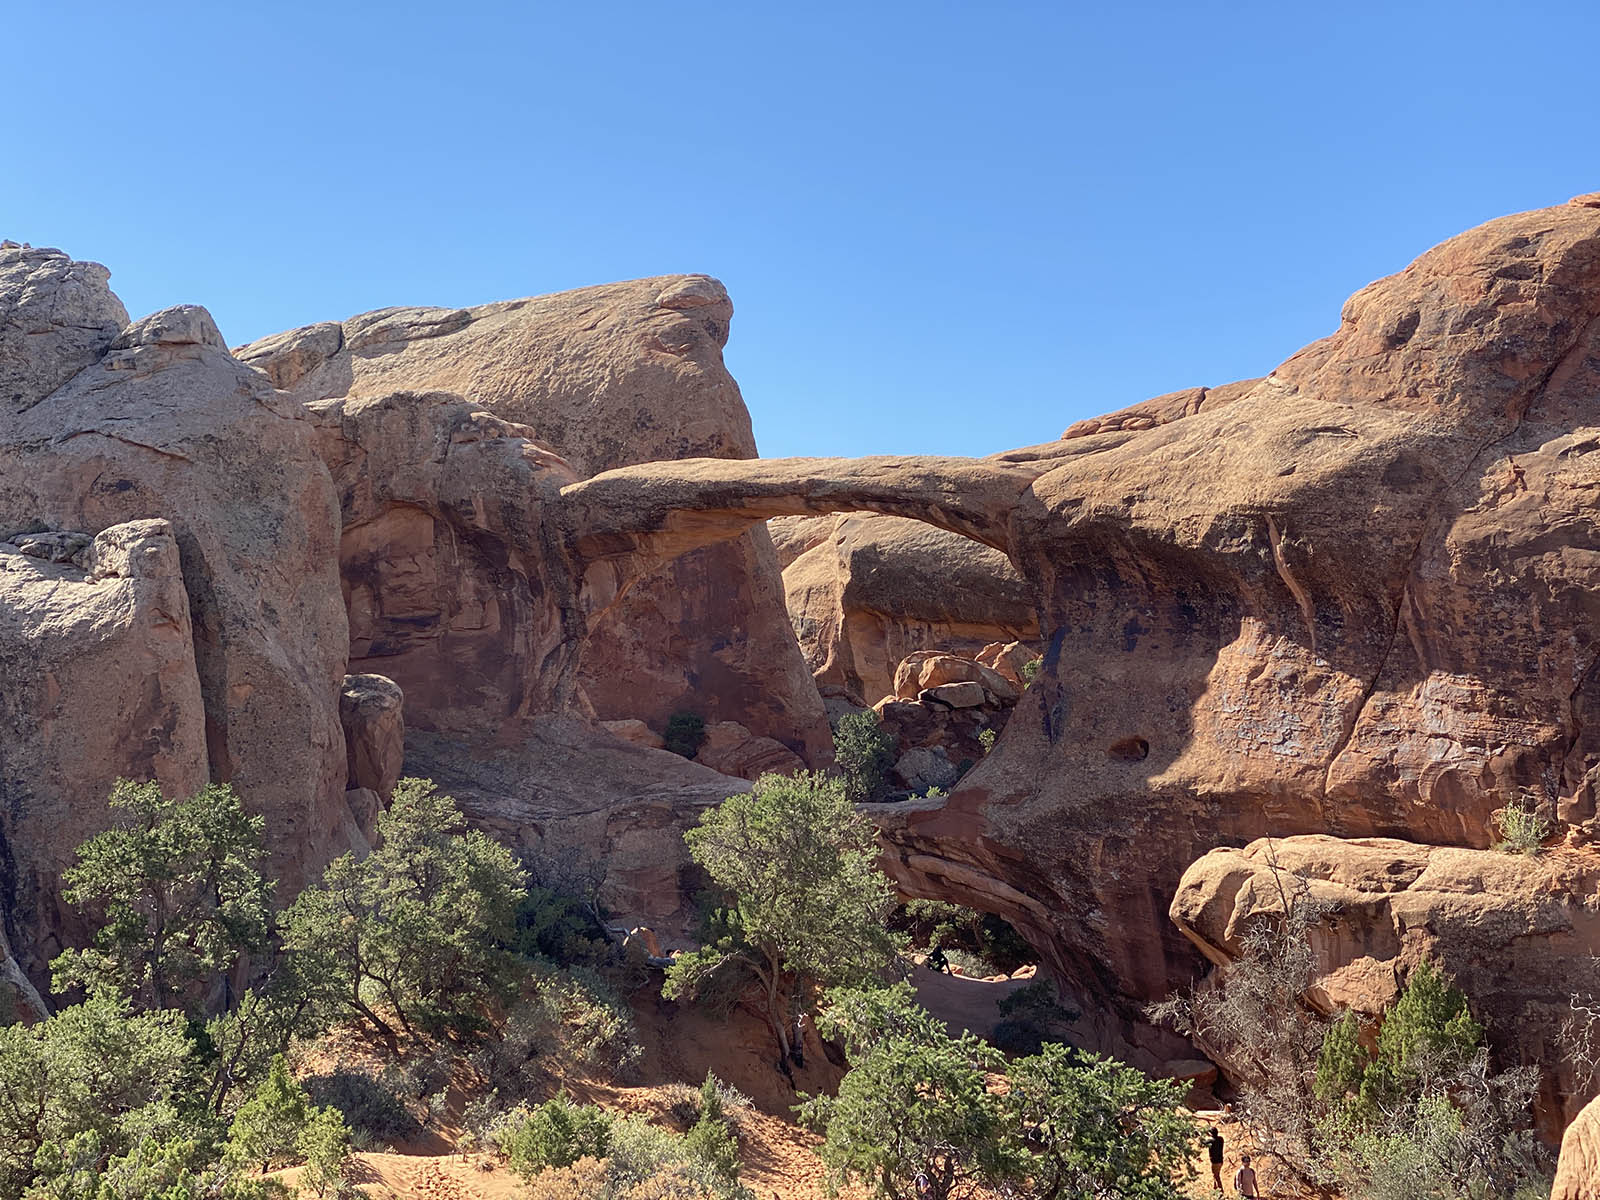
Double O Arch in Arches National Park, Utah. Credit: Carolina Valenzuela
Dark Angel: Dark Angel is a sandstone “tower” located 0.5 a mile to the northwest of Double O Arch. You don’t really have to go all the way to photograph it, as it looms over the landscape, so if you are feeling tired feel free to go back at any time. Once we reached Dark Angel, we turned back and retraced our steps to the beginning of the trail. Since it had rained the day before we were advised by a park ranger that we shouldn’t take the Primitive Trail as there were areas with dangerously high water.
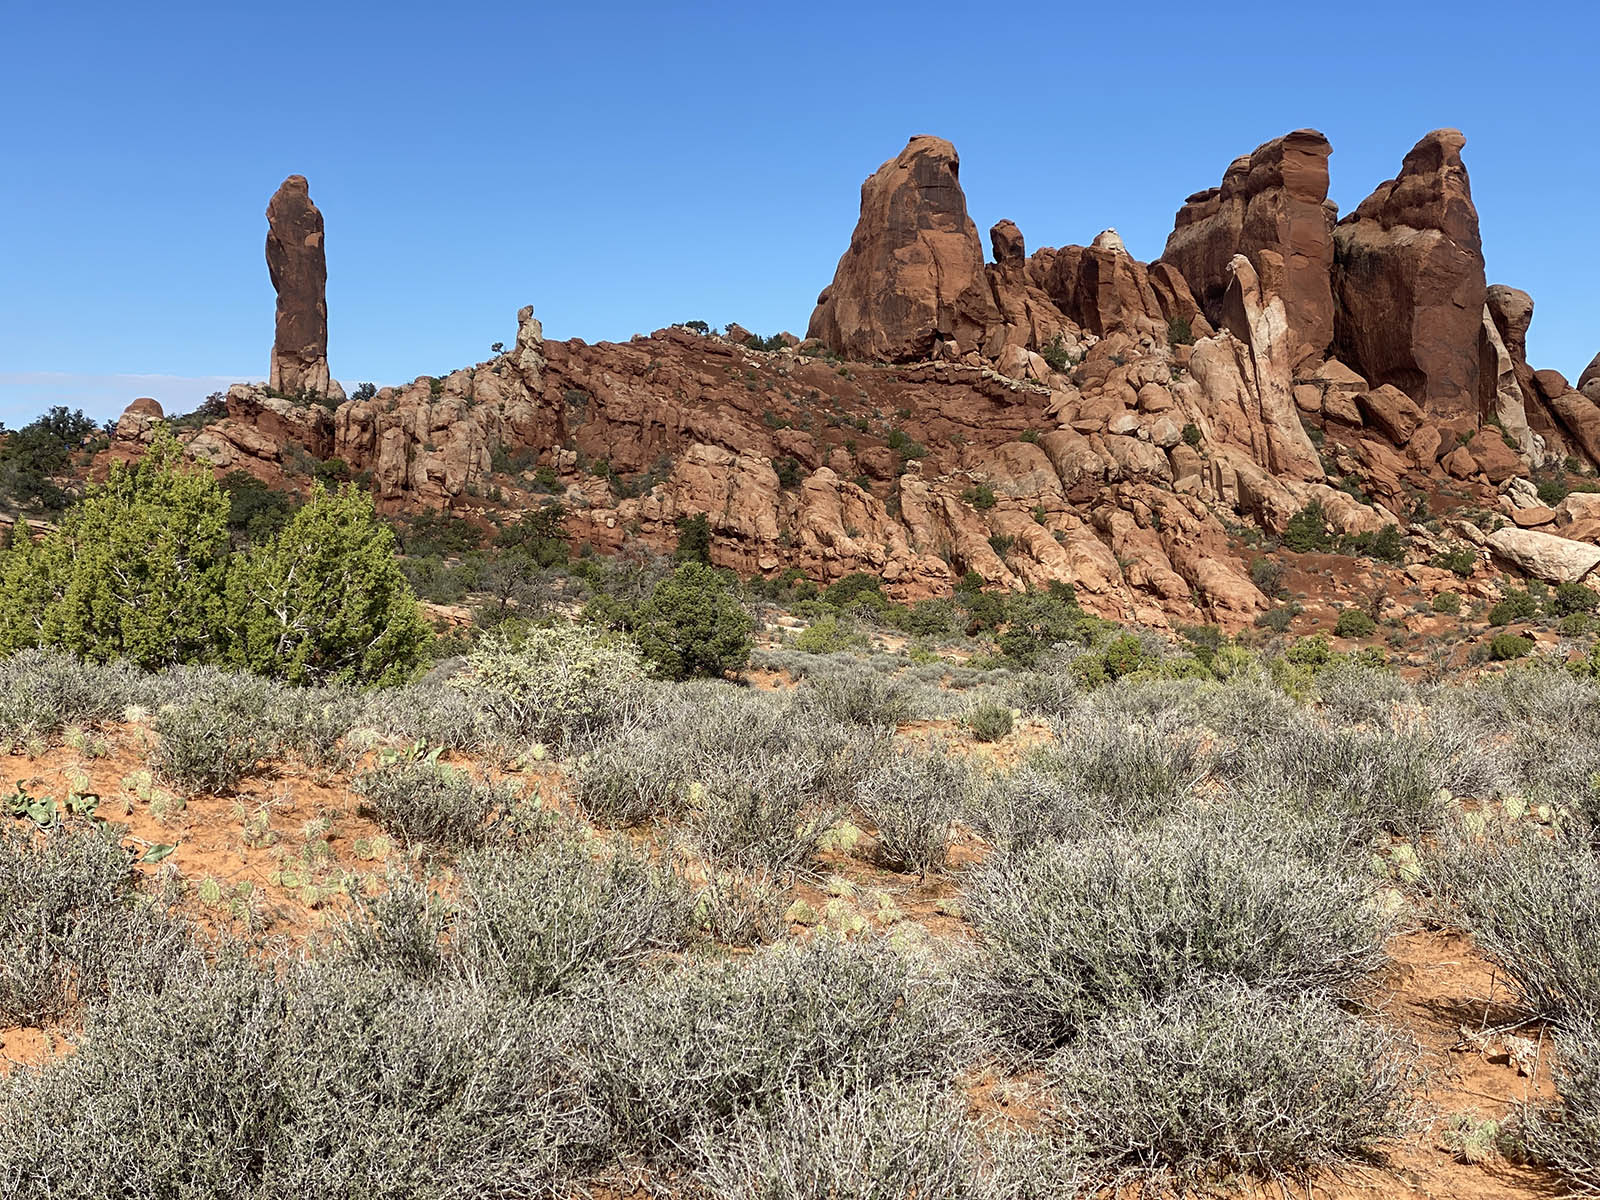
Dark Angel. Arches National Park, Utah. Credit: Carolina Valenzuela
Not taking the primitive trail meant that we were not able to visit the Private Arch. Something to add to our to do list the next time that we are in Arches National Park!
Tip: Take advantage and take a picture of Double O Arch from behind as you walk towards Dark Angel.
What you should bring
Hiking shoes: Hiking shoes are an absolute must for this trail. Make sure they have good traction as you will be scrambling through rocks and part of the trail can be slippery.
North Face Trail Escape Edge: My husband wore these during the trip and was very happy with how well they functioned even through the harder parts of the trails. Note these are not waterproof, but we didn’t count for such intense rain in a desert…
North Face Women’s Hedgehog Fastpack: This waterproof hiking shoe should have been the shoe for this hike, but I left them at home. This trip stressed how important it is to bring an appropriate shoe – I wore the winter hiking boots I took to Patagonia, but it was the wrong shoe for this terrain.
Sunscreen: Since this hike will take you several hours and there will be hardly any shade make sure you wear sunscreen to avoid a sunburn. As always, I recommend Supergoop! for your face and Coppertone for your body. Bring the sunscreen with you and apply after a couple of hours.
Comfortable hiking socks: My husband swears by these ankle high socks and has always told me that they provide comfort and absorb moisture really well. The socks fit most mens sizes (from 6-12) and are also comfortable for some women. If you feel they won’t fit and need a second option, Merrell has a great pair for women.
We are part of several affiliate programs including Amazon and Viator which means that we will earn a small commission at no extra cost to you if you make a purchase through the links included in this post.
